Create the Dagster project
Let’s create your first Dagster project! To do this, use the dagster project from-example command to clone the official Dagster University project to your local machine.
To create the project, run:
dagster project from-example --example project_dagster_university_start --name dagster_university
After running the previous command, a new directory named dagster_university will be created in your current directory. This directory contains the files that make up your Dagster project.
Next, set up the default environment variables and install the project’s Python dependencies by running:
cd dagster_university
cp .env.example .env
pip install -e ".[dev]"
The -e flag installs the project in editable mode, which will improve your development experience by shortening how long it takes to test a change. The main exceptions are when you're adding new assets or installing additional dependencies.
To verify that the installation was successful and that you can run Dagster locally, run:
dagster dev
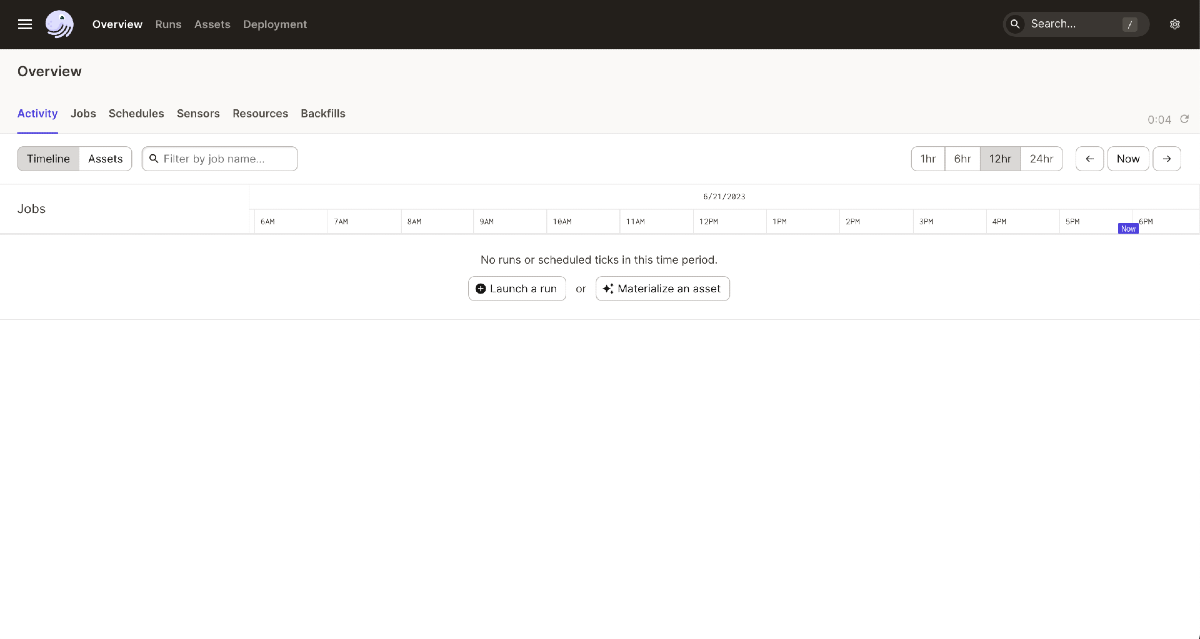
Navigate to localhost:3000, where you should see the Dagster UI:

The dagster dev command will run Dagster until you're ready to stop it. To stop the long-running process, press Control+C from the terminal where the process is running.