Asset materialization
Now that you’ve defined an asset in code, the next step is to materialize it. When an asset is materialized, Dagster runs the asset’s function and creates the asset by persisting the results in storage, such as in a data warehouse. When a materialization begins, it kicks off a run.
To better understand how materialization works, let’s take another look at the taxi_trips_file asset you created and what its function does:
@asset
def taxi_trips_file() -> None:
    """The raw parquet files for the taxi trips dataset. Sourced from the NYC Open Data portal."""
    month_to_fetch = "2023-03"
    raw_trips = requests.get(
        f"https://d37ci6vzurychx.cloudfront.net/trip-data/yellow_tripdata_{month_to_fetch}.parquet"
    )

    with open(
        constants.TAXI_TRIPS_TEMPLATE_FILE_PATH.format(month_to_fetch), "wb"
    ) as output_file:
        output_file.write(raw_trips.content)
A description of the asset is added using a docstring (
”””), which will display in the Dagster UI.Next, a variable named
month_to_fetchis defined. The value is2023-03, or March 2023.A second variable named
raw_tripsis defined. This variable uses thegetfunction from therequestslibrary (requests.get) to retrieve a parquet file from the NYC Open Data portal website.Using the
month_to_fetchvariable, the URL to retrieve the file from becomes:https://.../trip-data/yellow_tripdata_2023-03.parquetNext, the path where the file will be stored is constructed. The value of
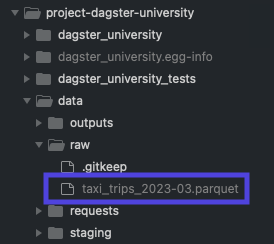
TAXI_TRIPS_TEMPLATE_FILE_PATH, stored in your project’sassets/constants.pyfile, is retrieved:data/raw/taxi_trips_{}.parquetThe parquet file is created and saved at
data/raw/taxi_trips_2023-03.parquetThe asset function’s execution completes successfully. This completion indicates to Dagster that an asset has been materialized, and Dagster will update the UI to reflect that asset materialized successfully.
With the basics of materialization out of the way, let’s move on to actually materializing the taxi_trips_file asset.
Materializing assets using the Dagster UI
If you don’t still have the Dagster UI running from Lesson 2, use the command line to run the following command in the root of your Dagster project (the top-level dagster-university directory):
dagster dev
Navigate to localhost:3000 in your browser. The page should look like the following - if it doesn’t, click Overview in the top navigation bar:
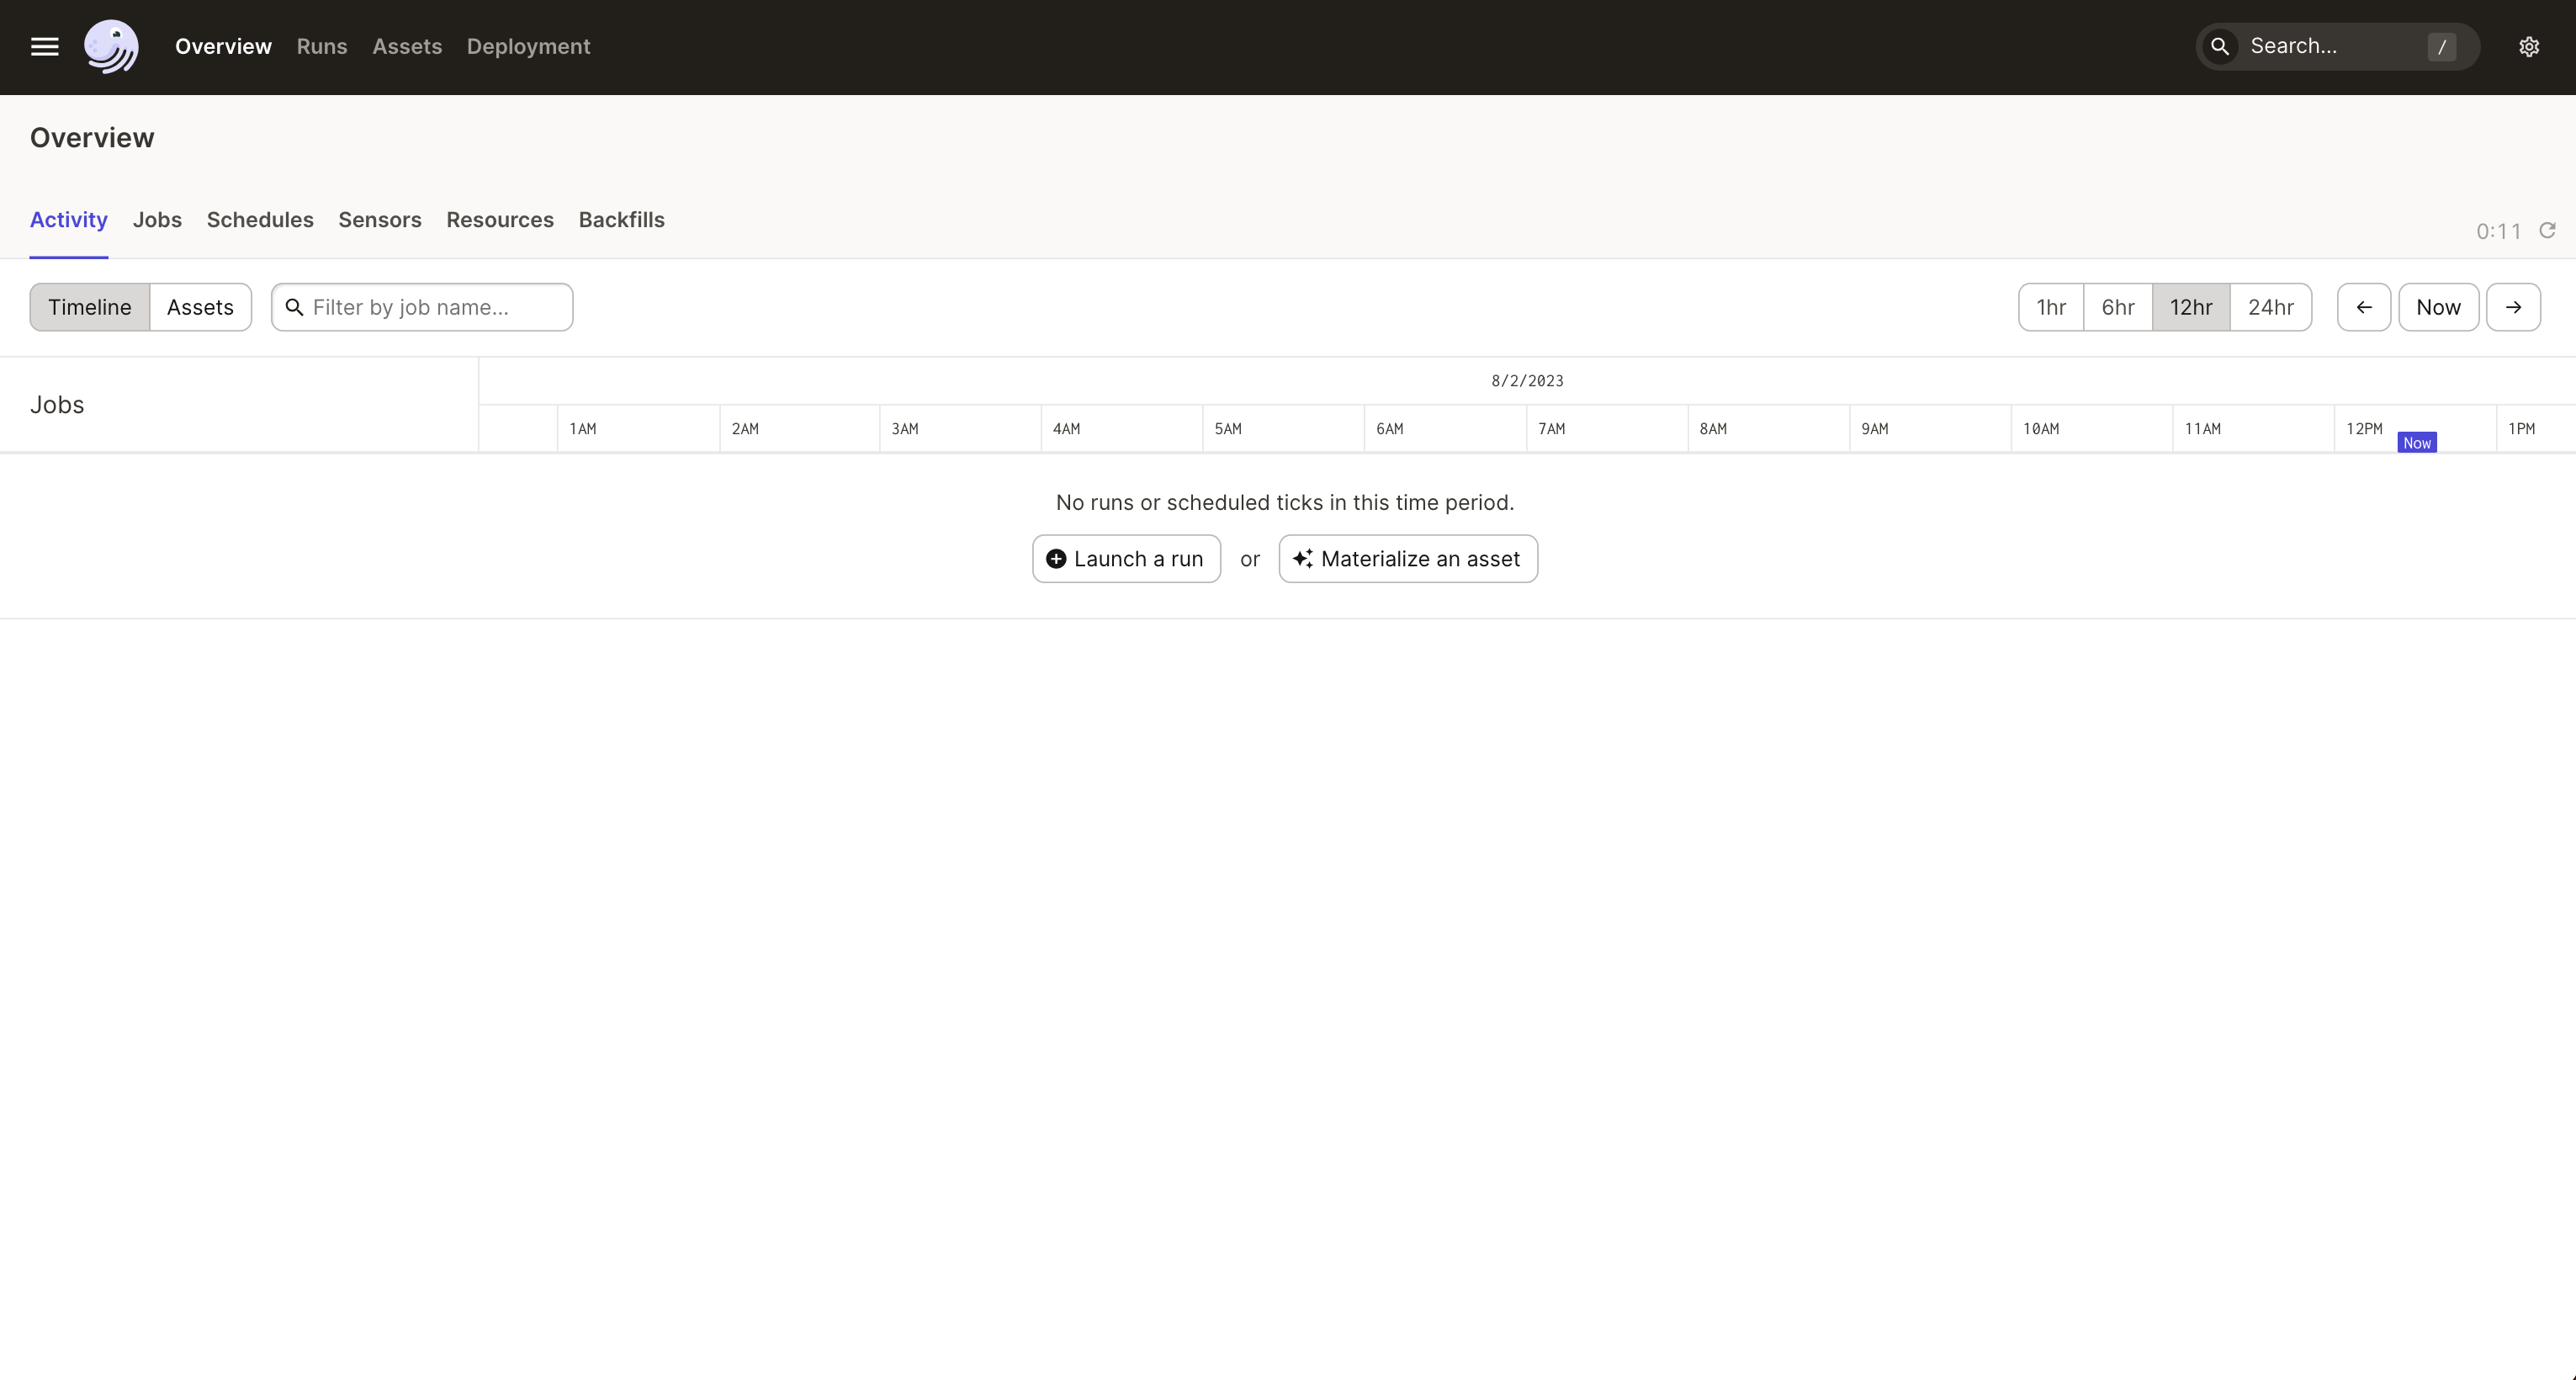
The page is empty for now, but it’ll look more interesting shortly. Let’s get started materializing the asset.
| Step one | |
|---|---|
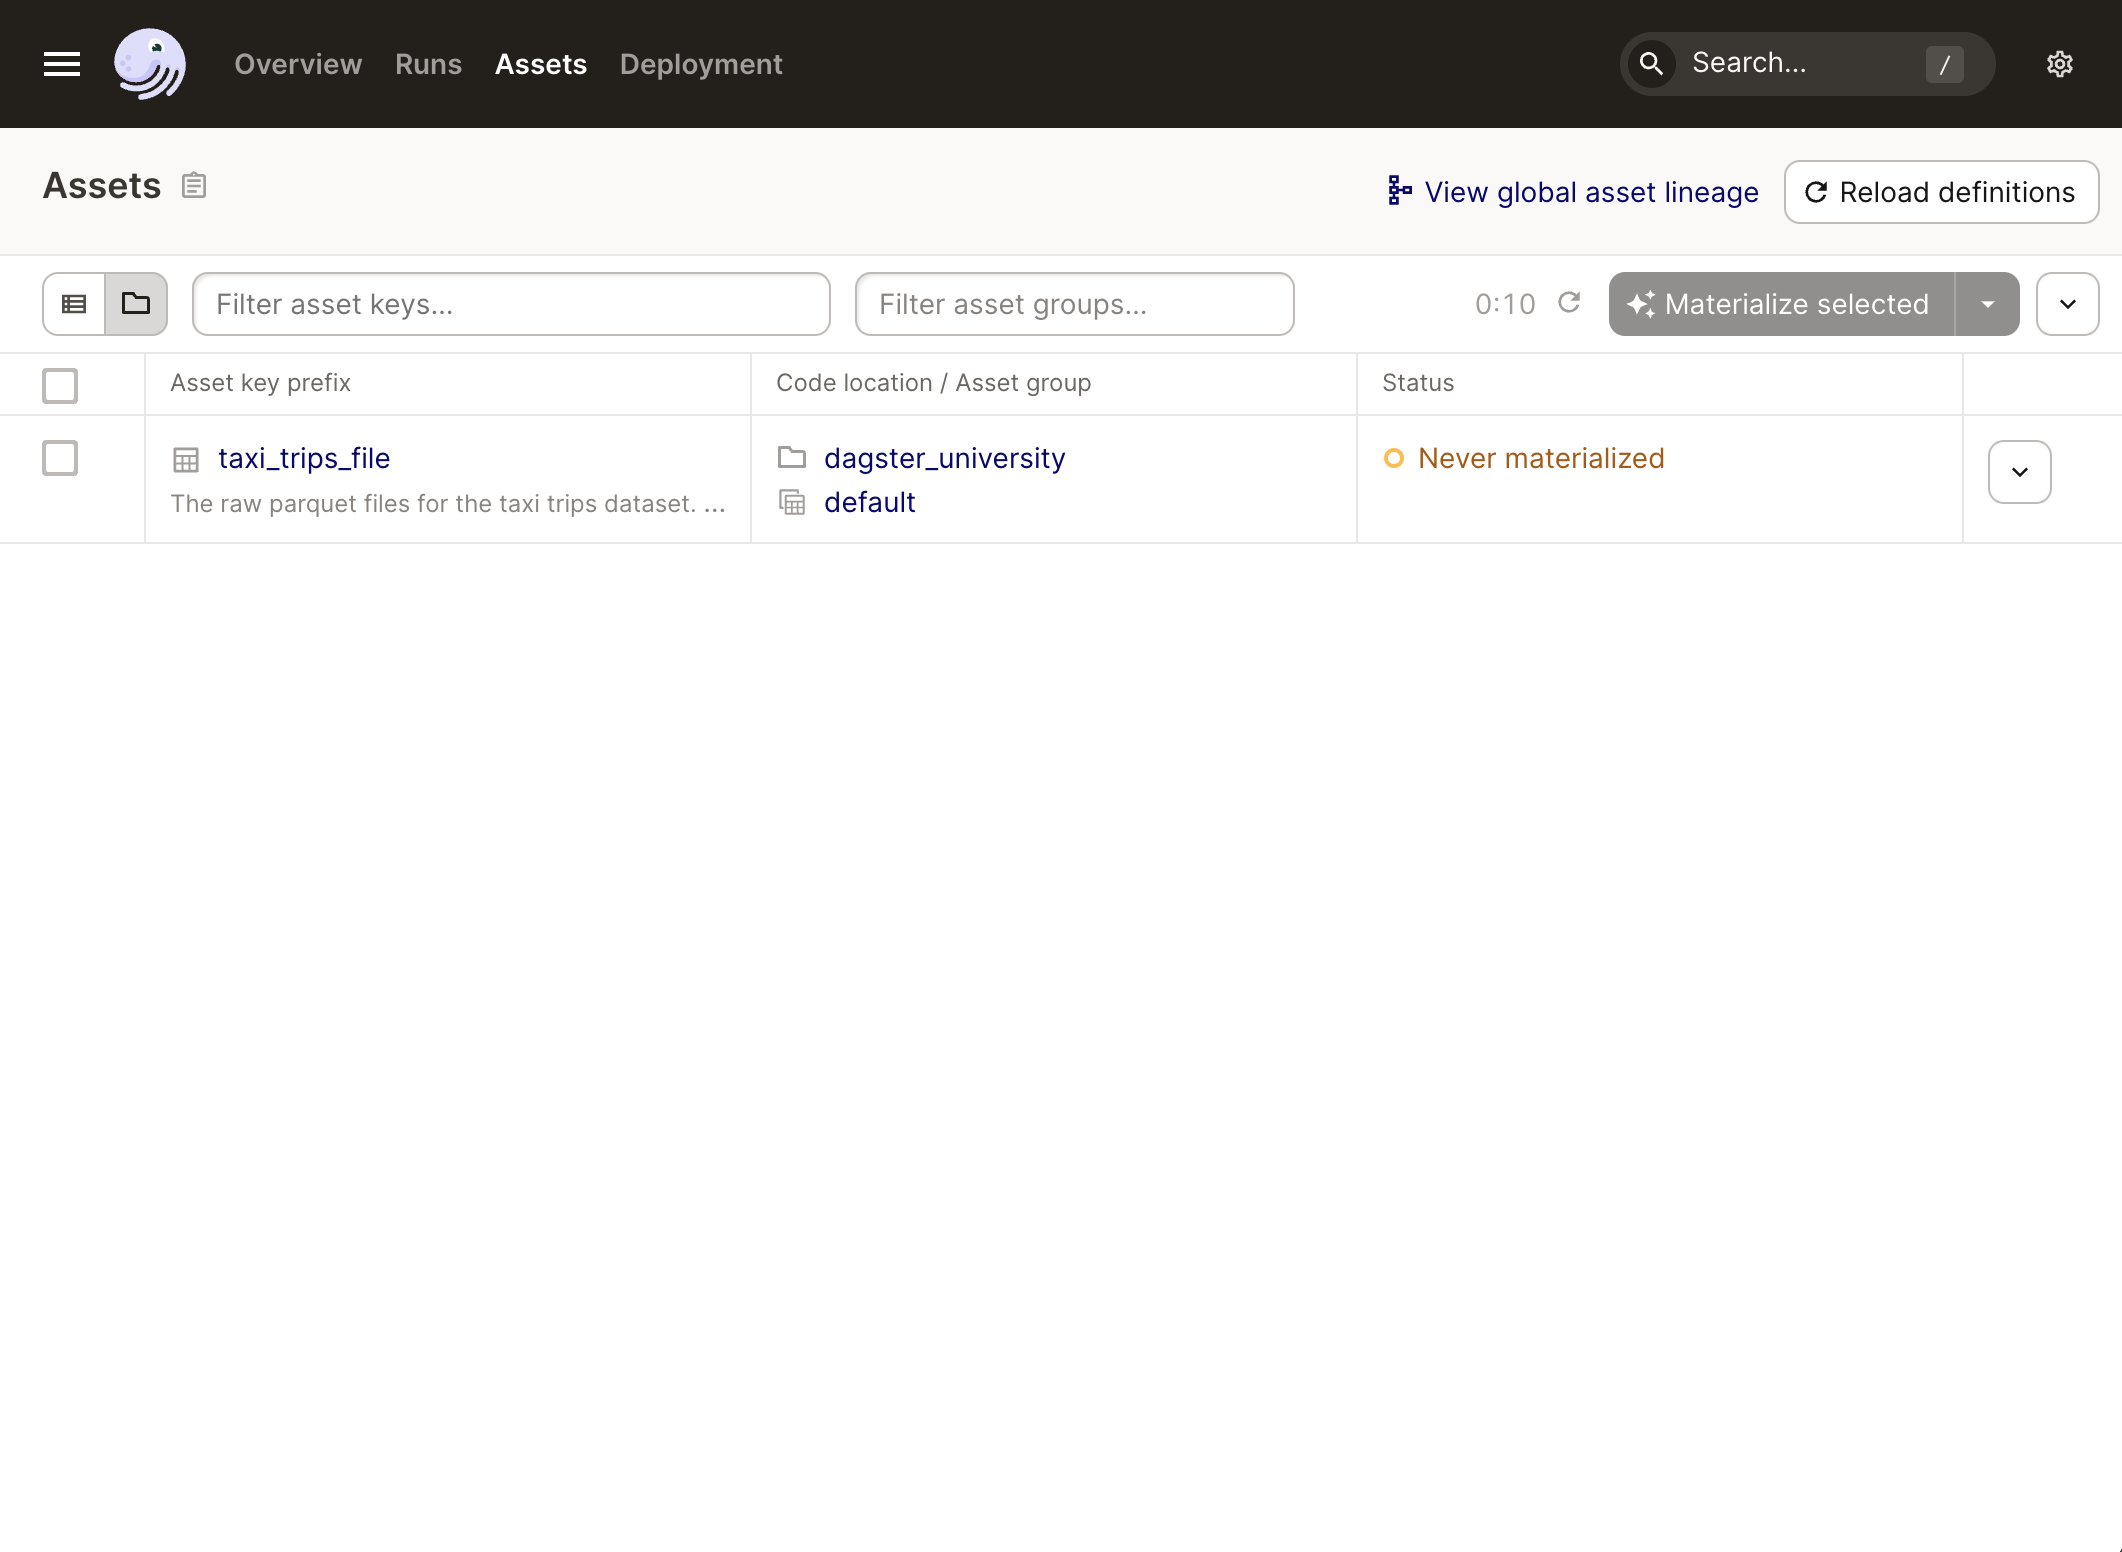
Click Assets in the top navigation bar. The page that opens should look like the one to the right. Note: If this page is empty when you open it, click Reload definitions. We’ll discuss what this does in more detail in a later lesson. In this page, you’ll find a list of assets in the project and some high-level information about them, including:
Next, click the View global asset lineage link. This opens the global asset graph, which is where you can view your DAG. |
|
| Step two | |
|---|---|
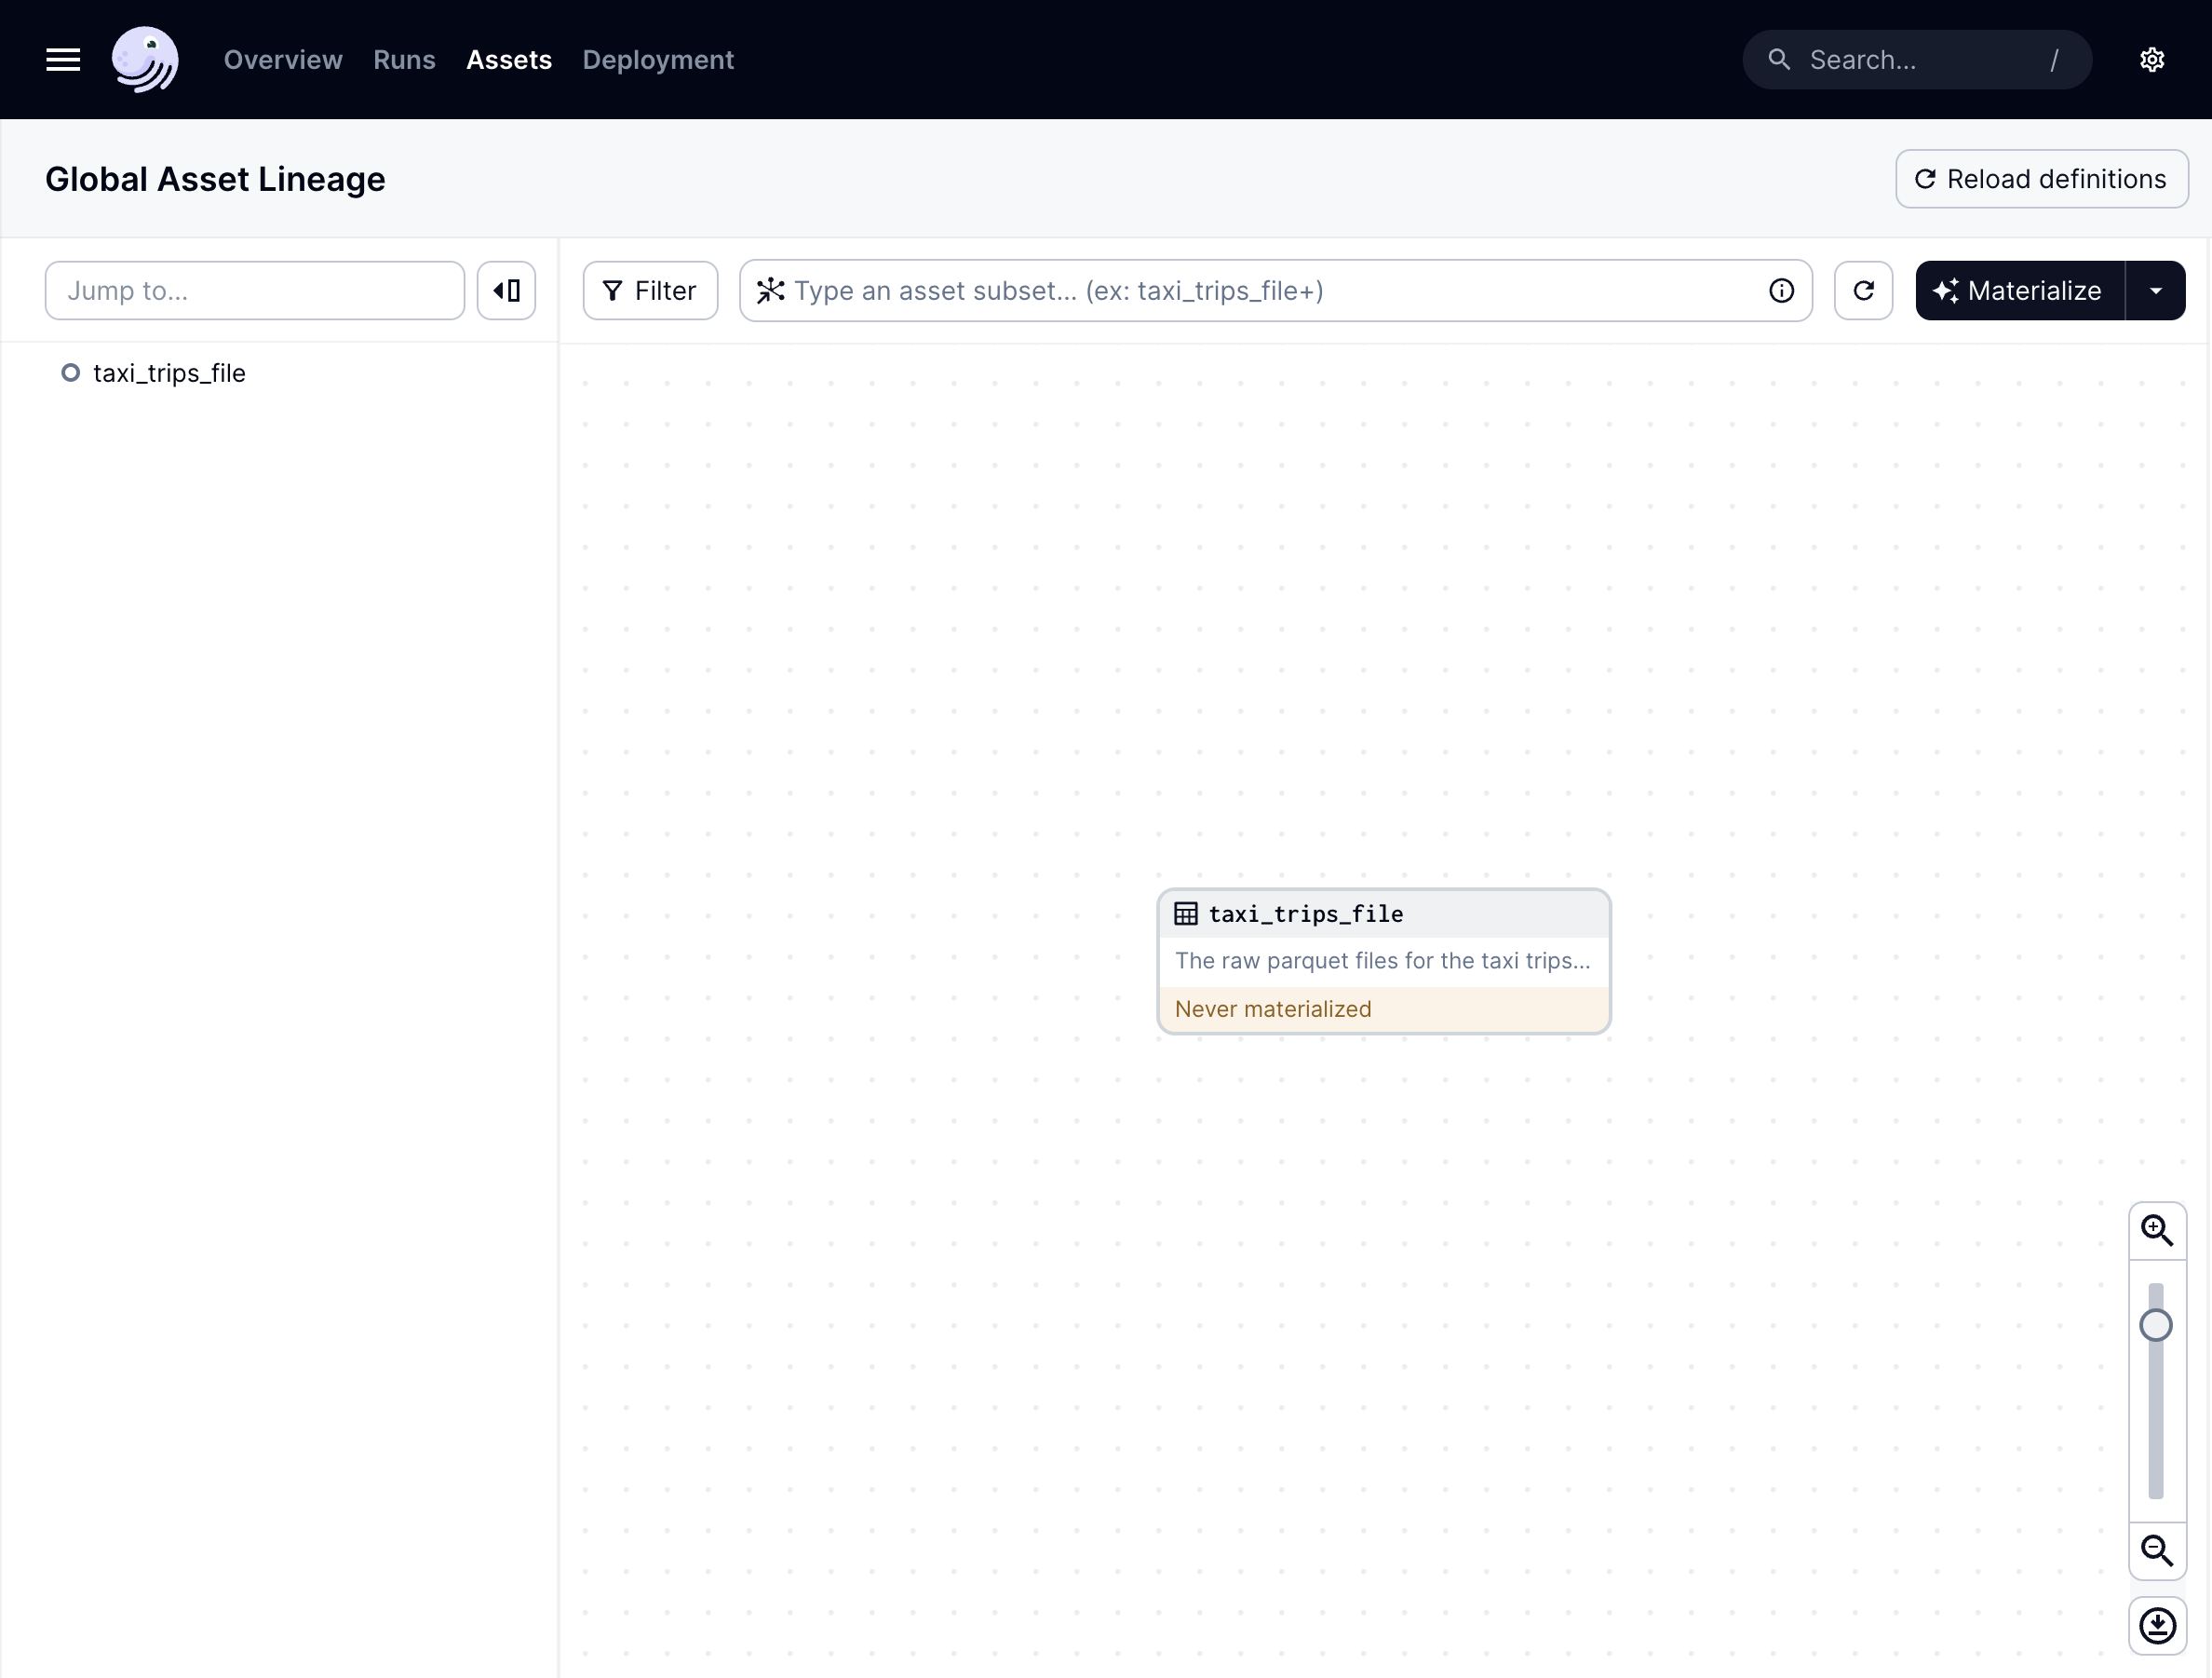
It looks pretty empty right now, as there’s only one asset. But once you start adding more assets and dependencies, it’ll get more interesting. Additionally, notice that the asset’s description, pulled from its docstring, displays within the asset! |
|
| Step three | |
|---|---|
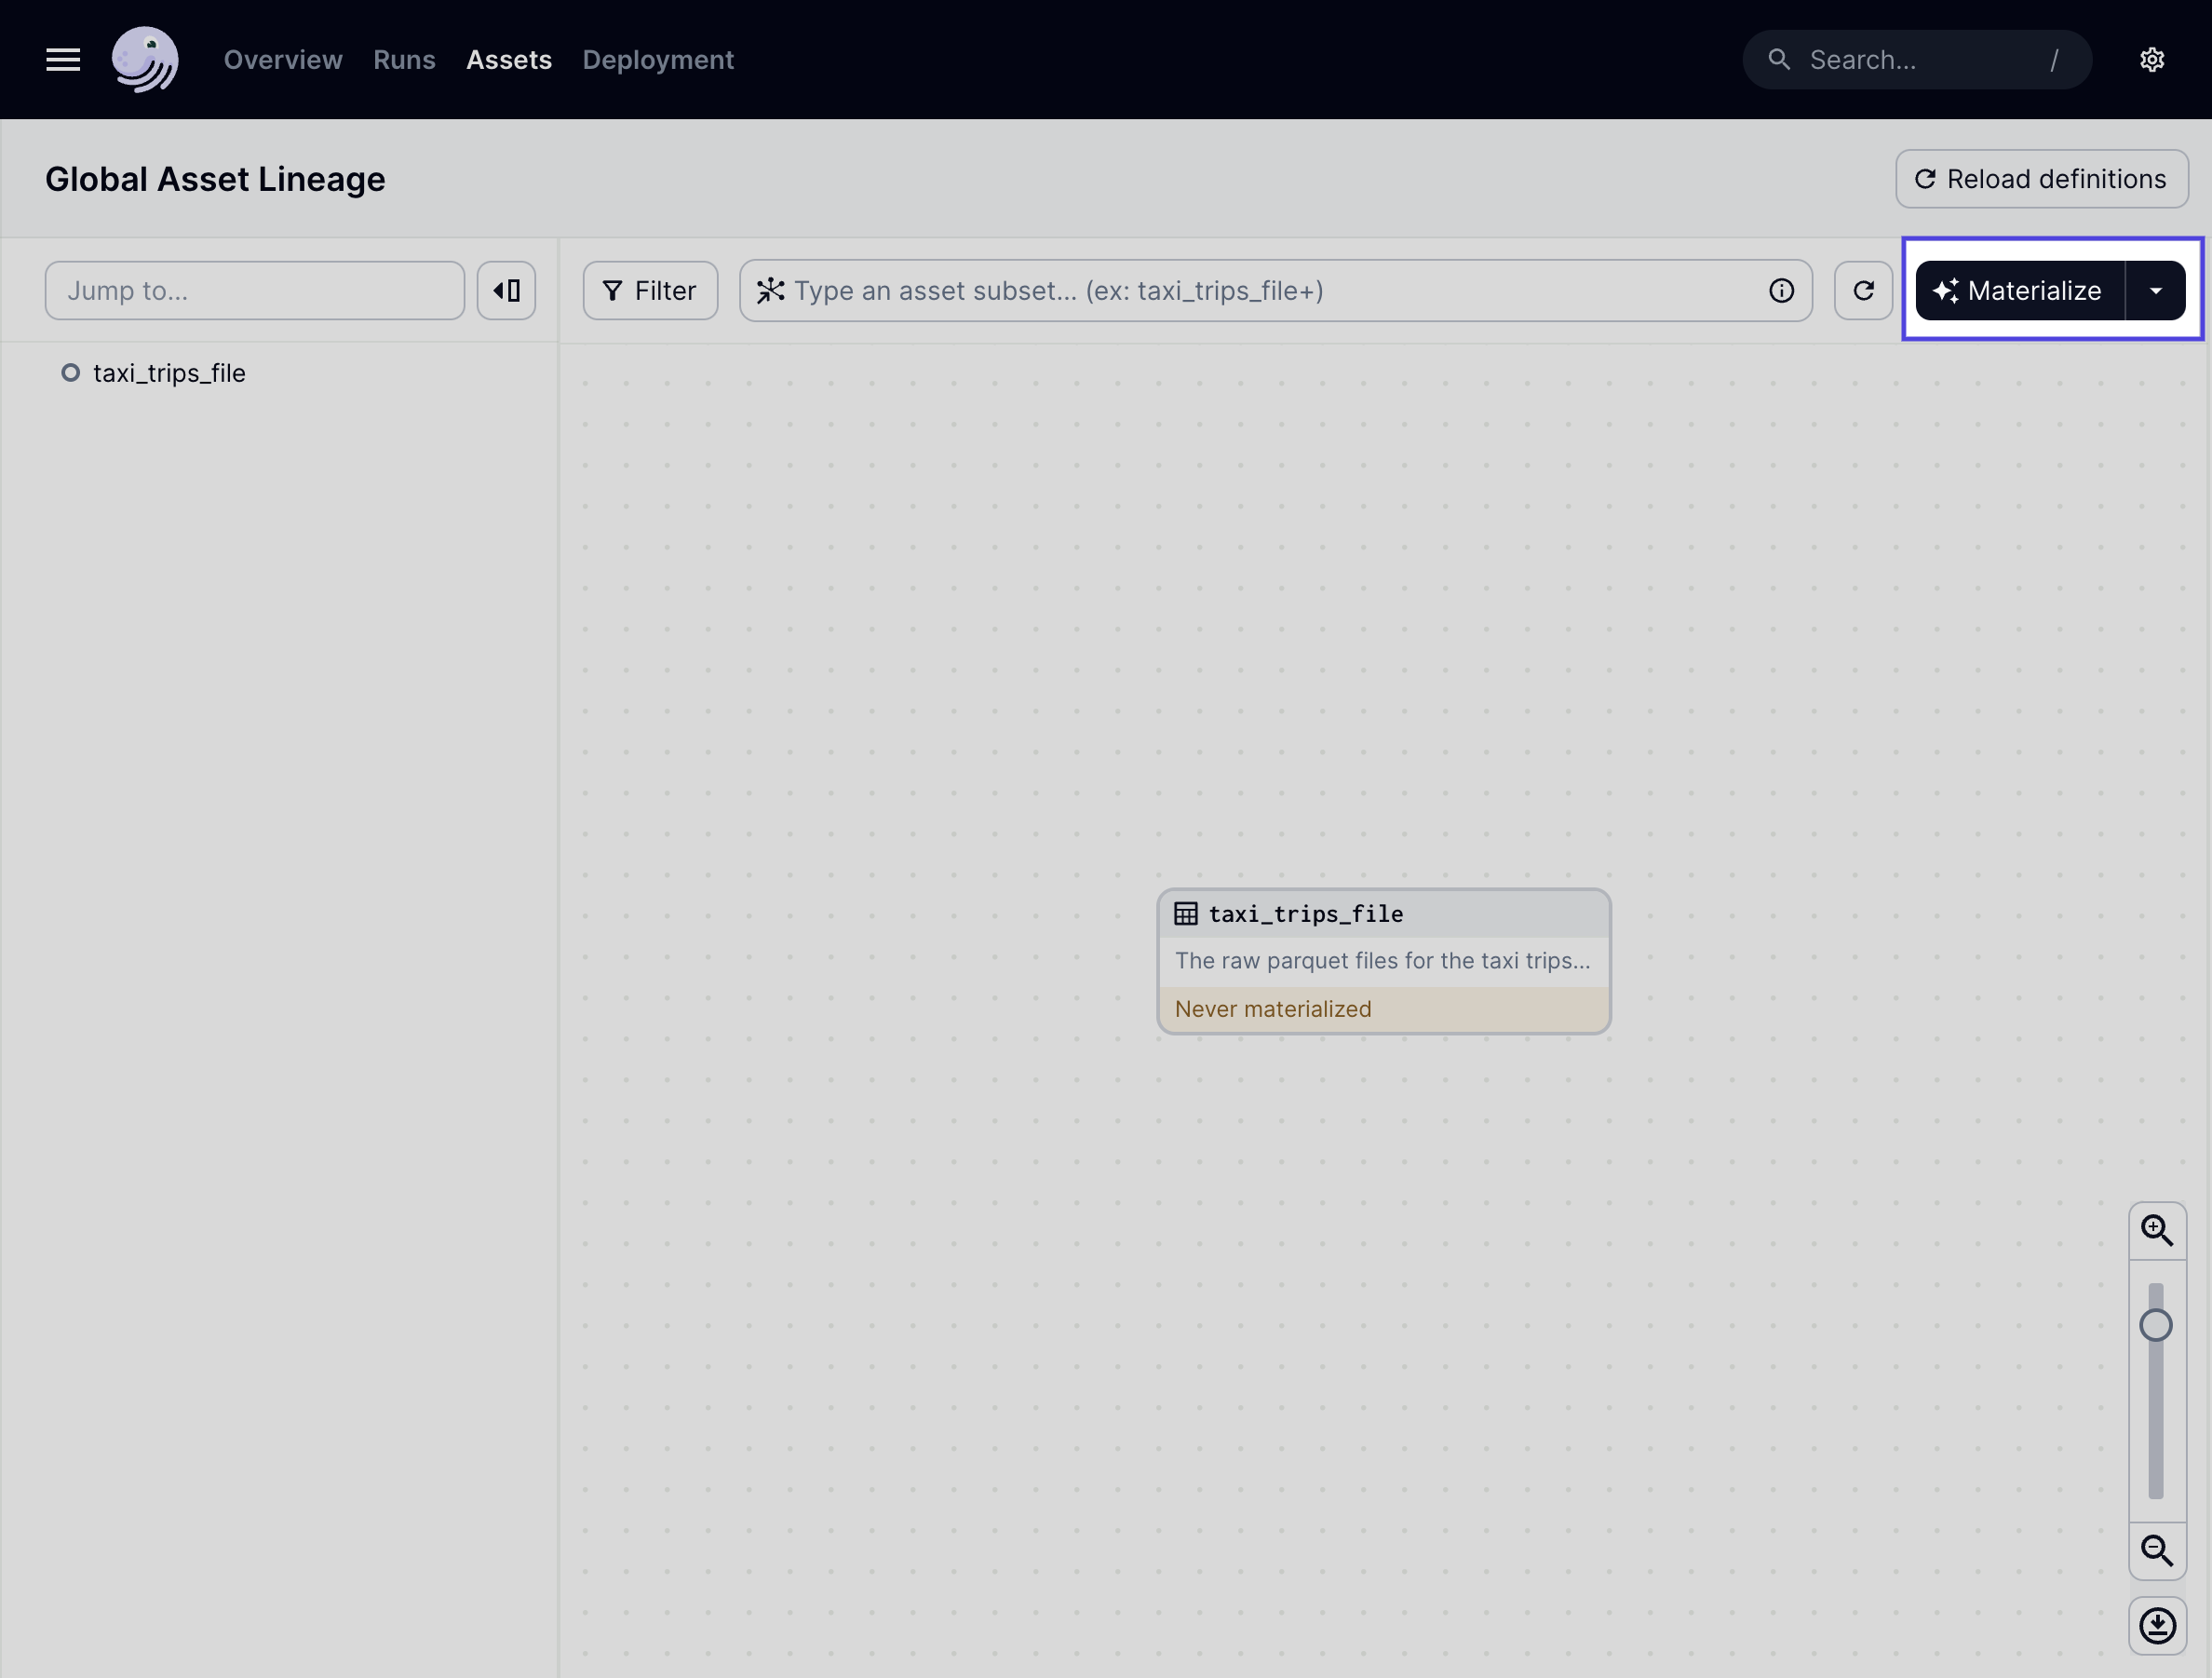
Click the Materialize button, highlighted in the image to the right, to materialize the asset. This will run the function in the asset’s code to create the asset. |
|
| Step four | |
|---|---|
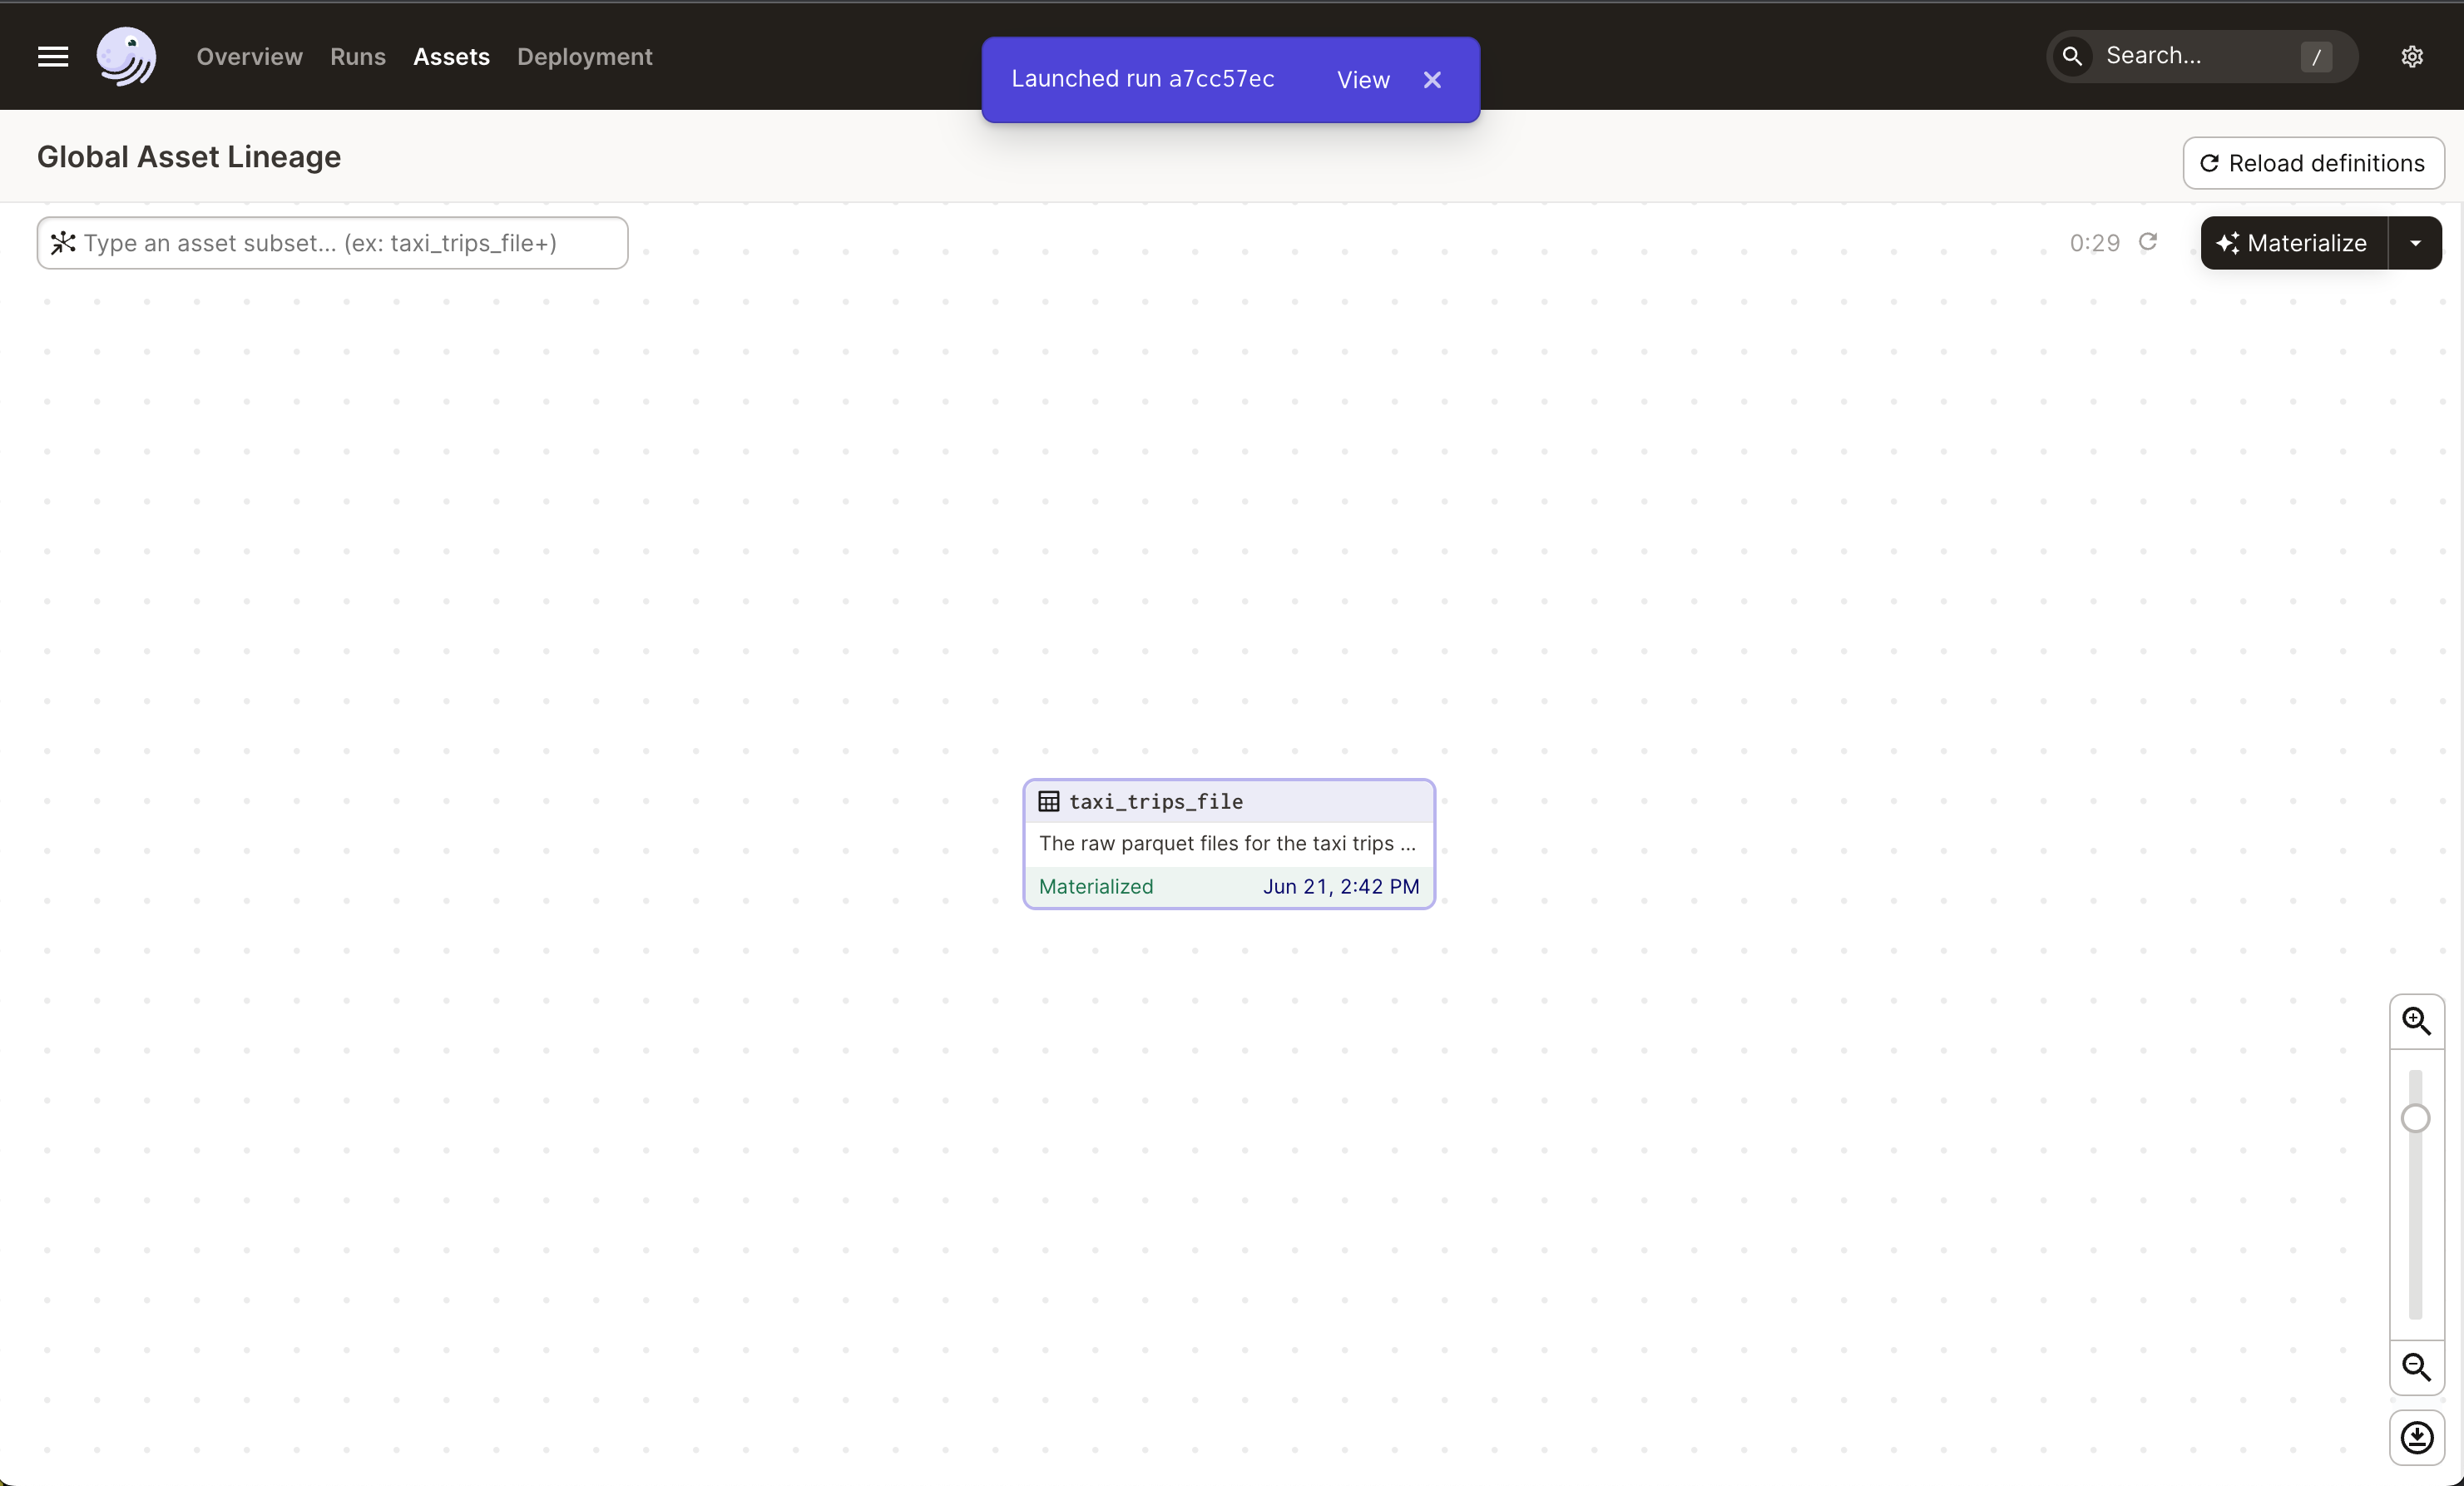
After you click Materialize, a purple box will display at the top of the page like in the image on the right. This indicates that the run started successfully. A run is an instance of execution that materializes one or more assets. |
|
| Step five | |
|---|---|
Navigate to Note: As the download may take a minute, this file may not show up right away. |
|
That’s it! You’ve successfully materialized your first asset! 🎉
