Jobs and schedules in the Dagster UI
Like other Dagster definitions, jobs and schedules can be viewed and managed in the Dagster UI. The UI contains information about where the jobs and schedules are used, as well as the ability to toggle them on and off.
In addition to viewing and managing jobs and schedules in the UI, running dagster dev also spins up the dagster-daemon. The dagster-daemon is a long-running process that does things like check the time to see if a schedule should be run or if a sensor should be ticked, which we’ll cover more in a later lesson.
To ensure the jobs and schedules are visible, reload the definitions before continuing.
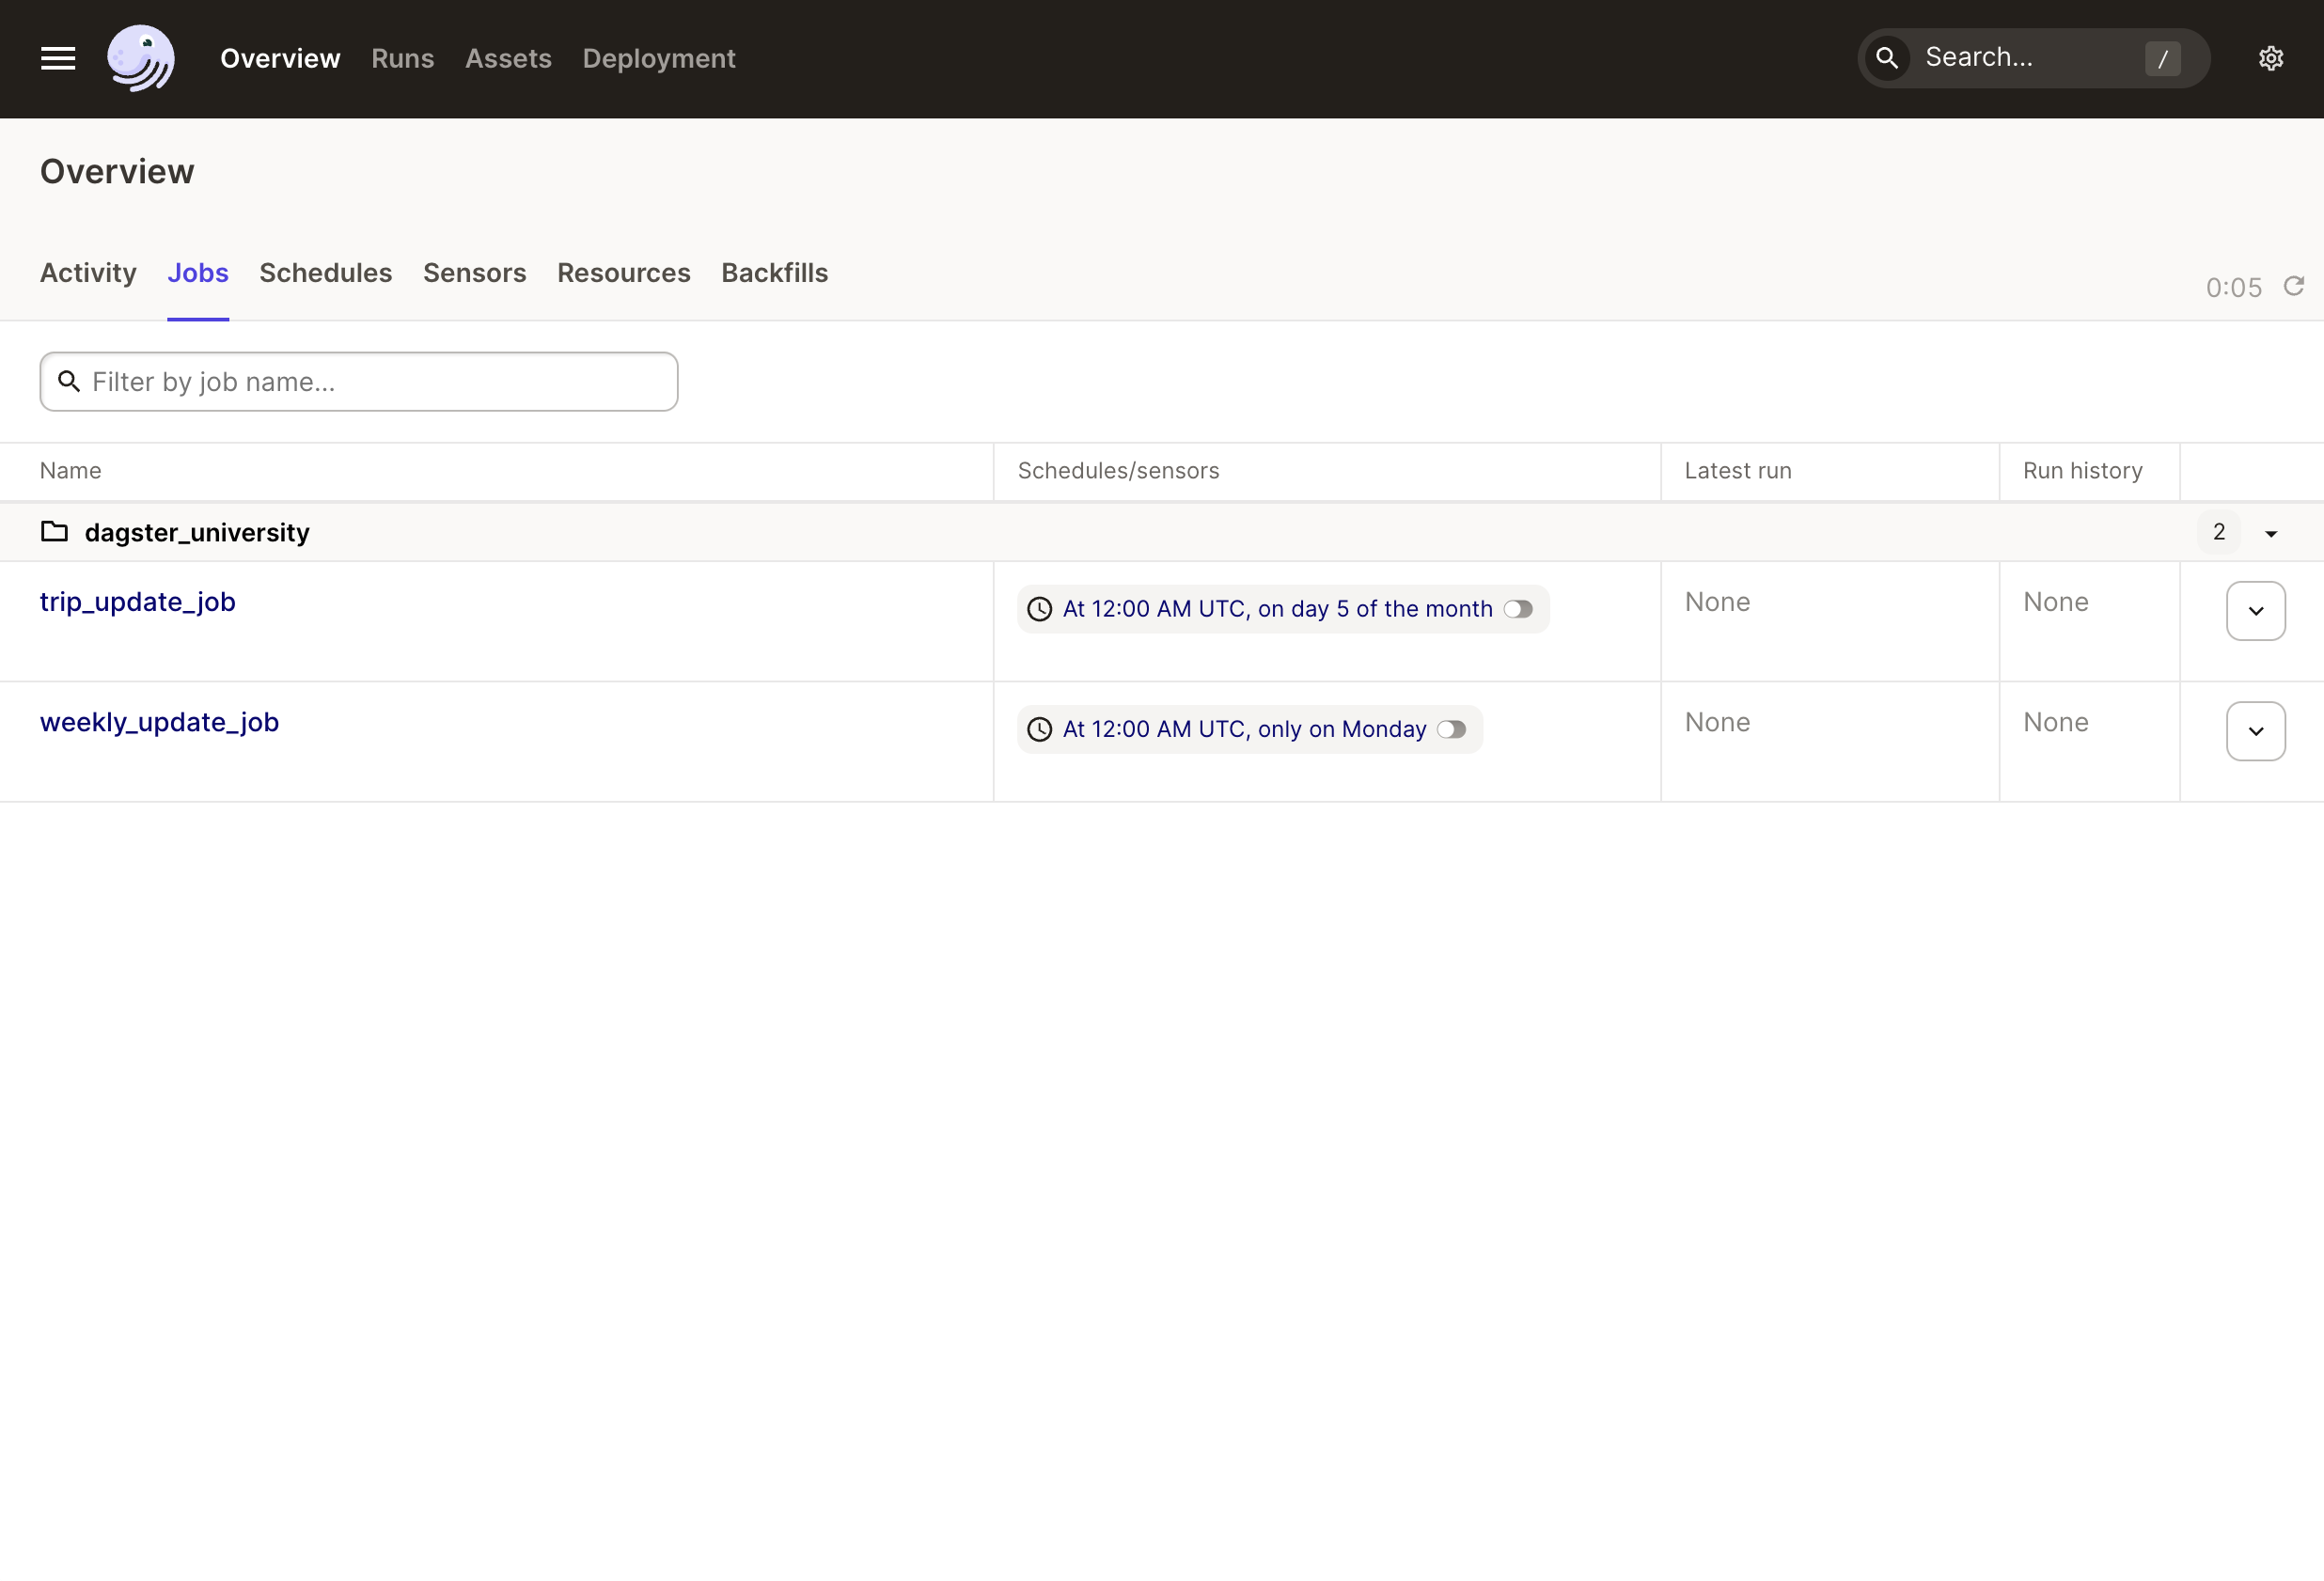
Jobs in the UI
| Accessing jobs | |
|---|---|
To view the jobs in the UI, you can:
The table in the Jobs tab contains the following info:
|
|
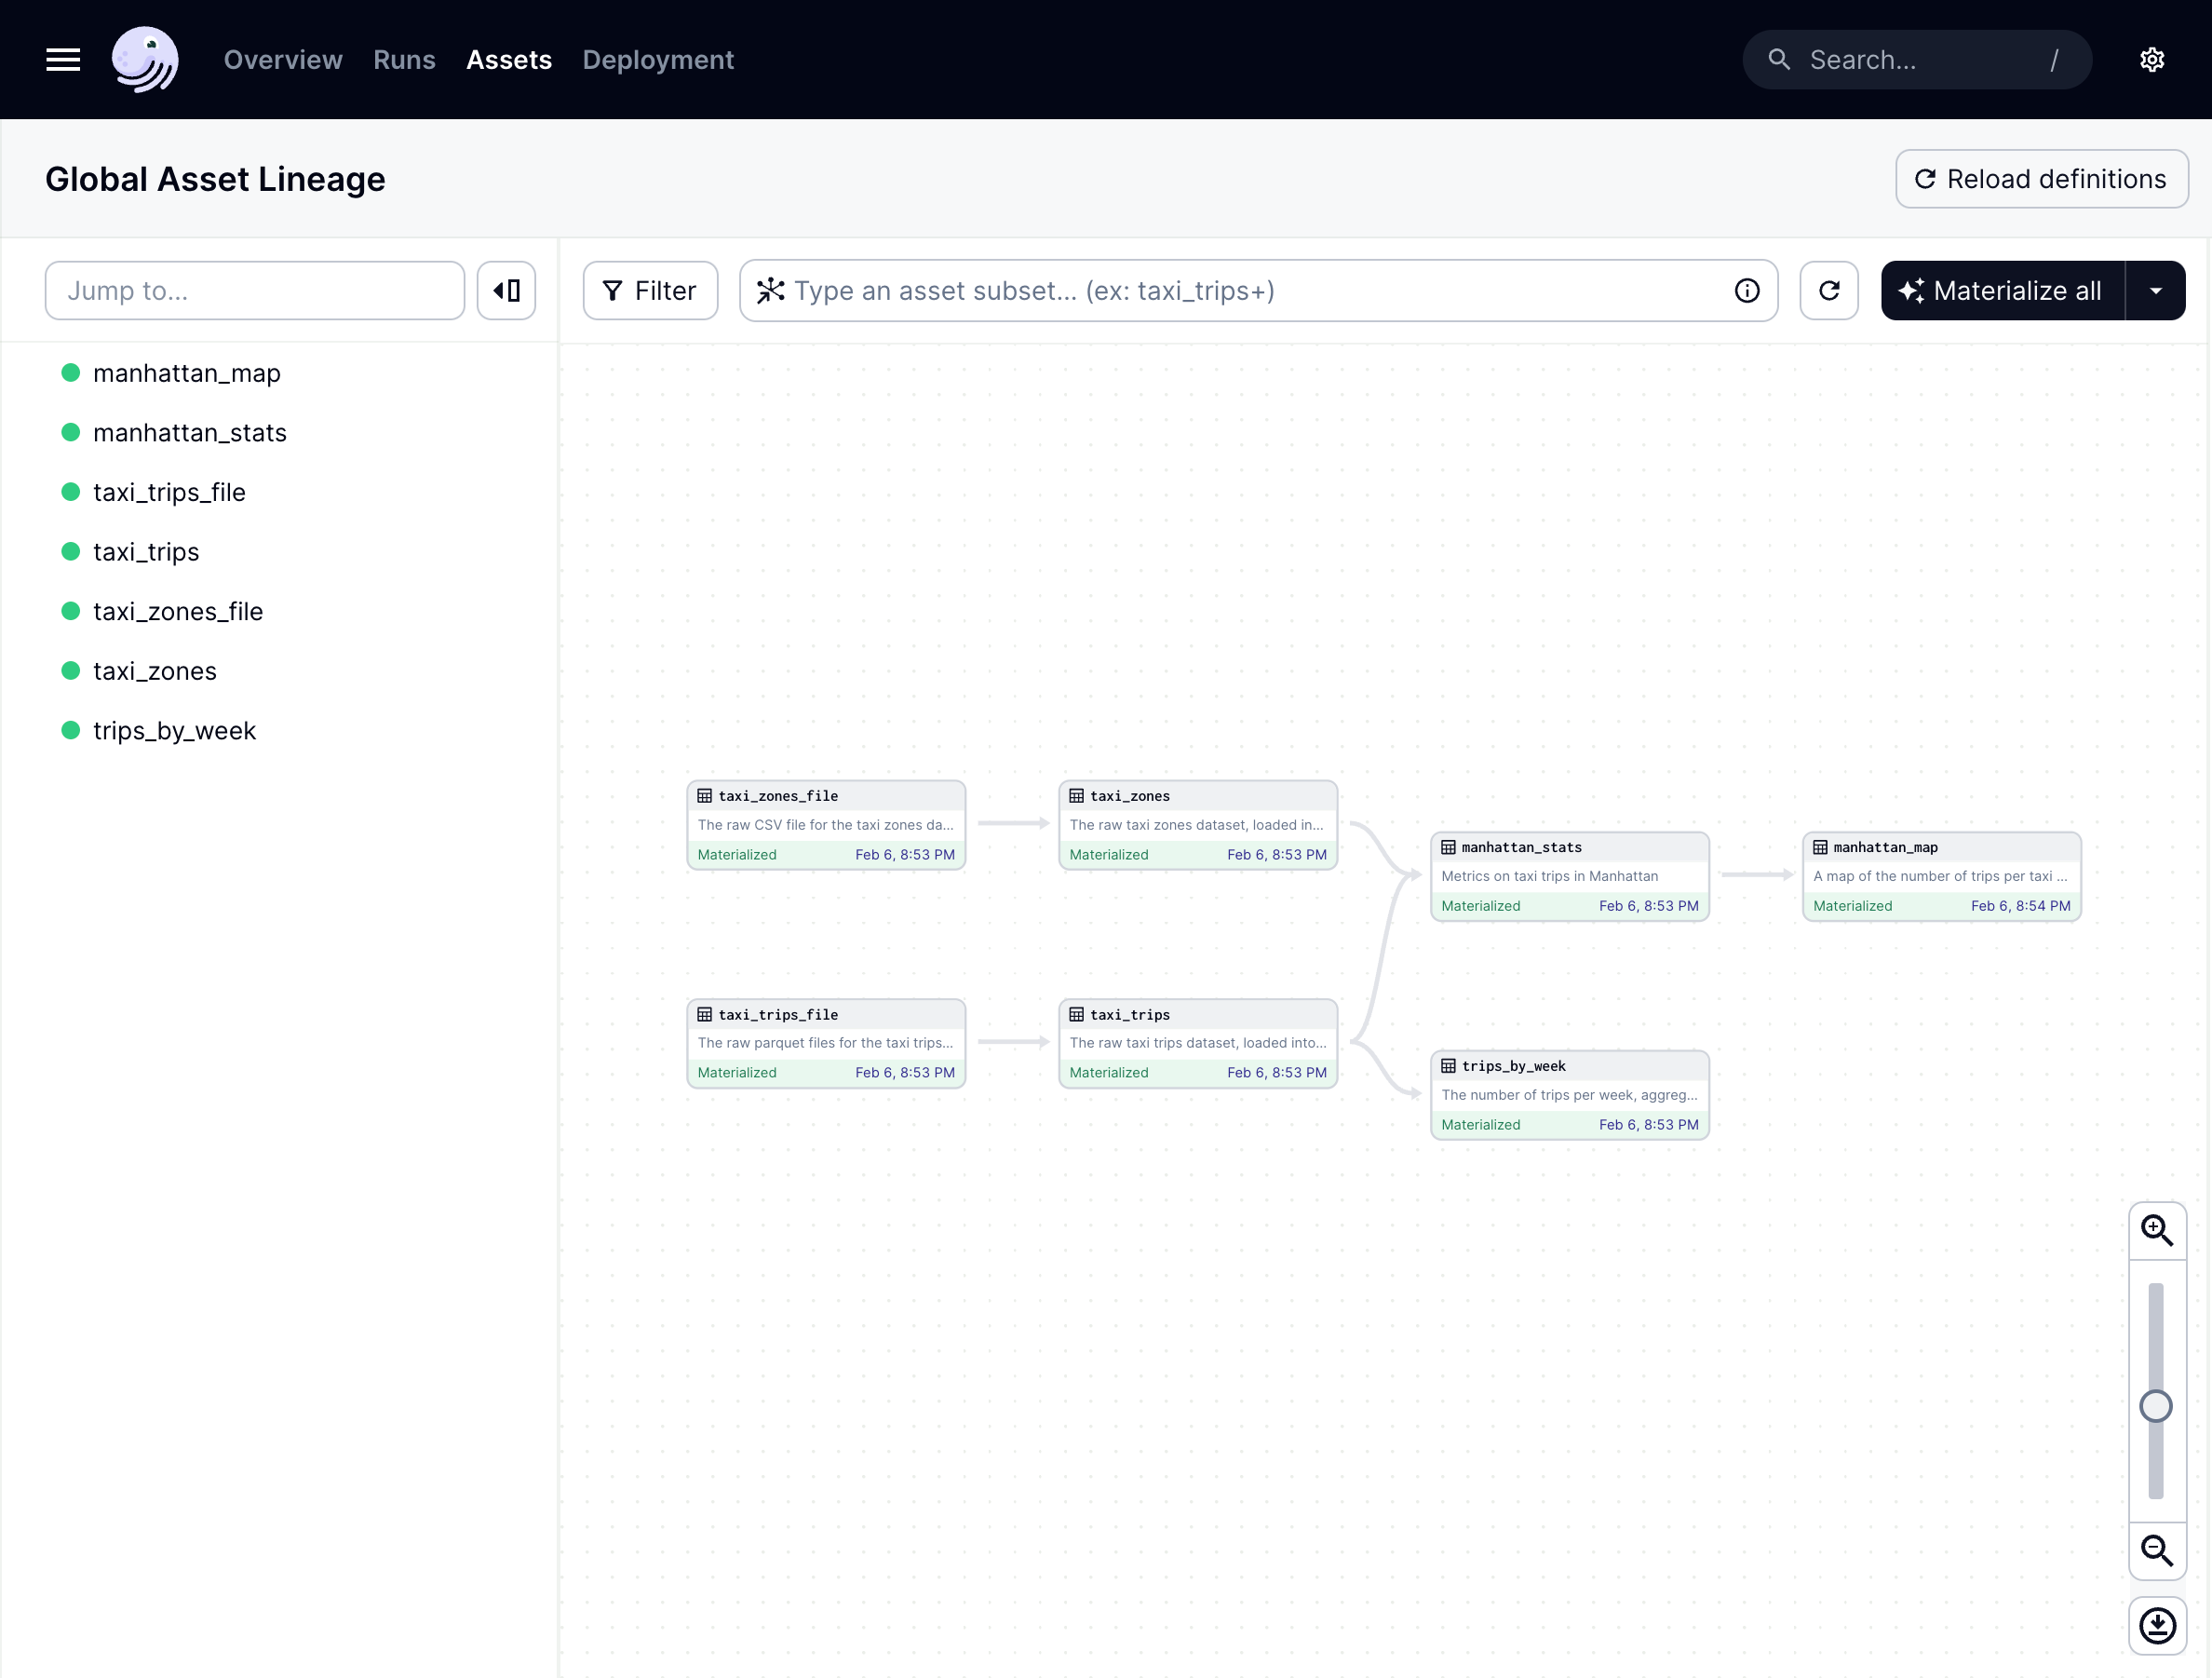
| Viewing a job's assets | |
|---|---|
By selecting a specific job, you will be able to see the asset graph containing the job's assets. |
|
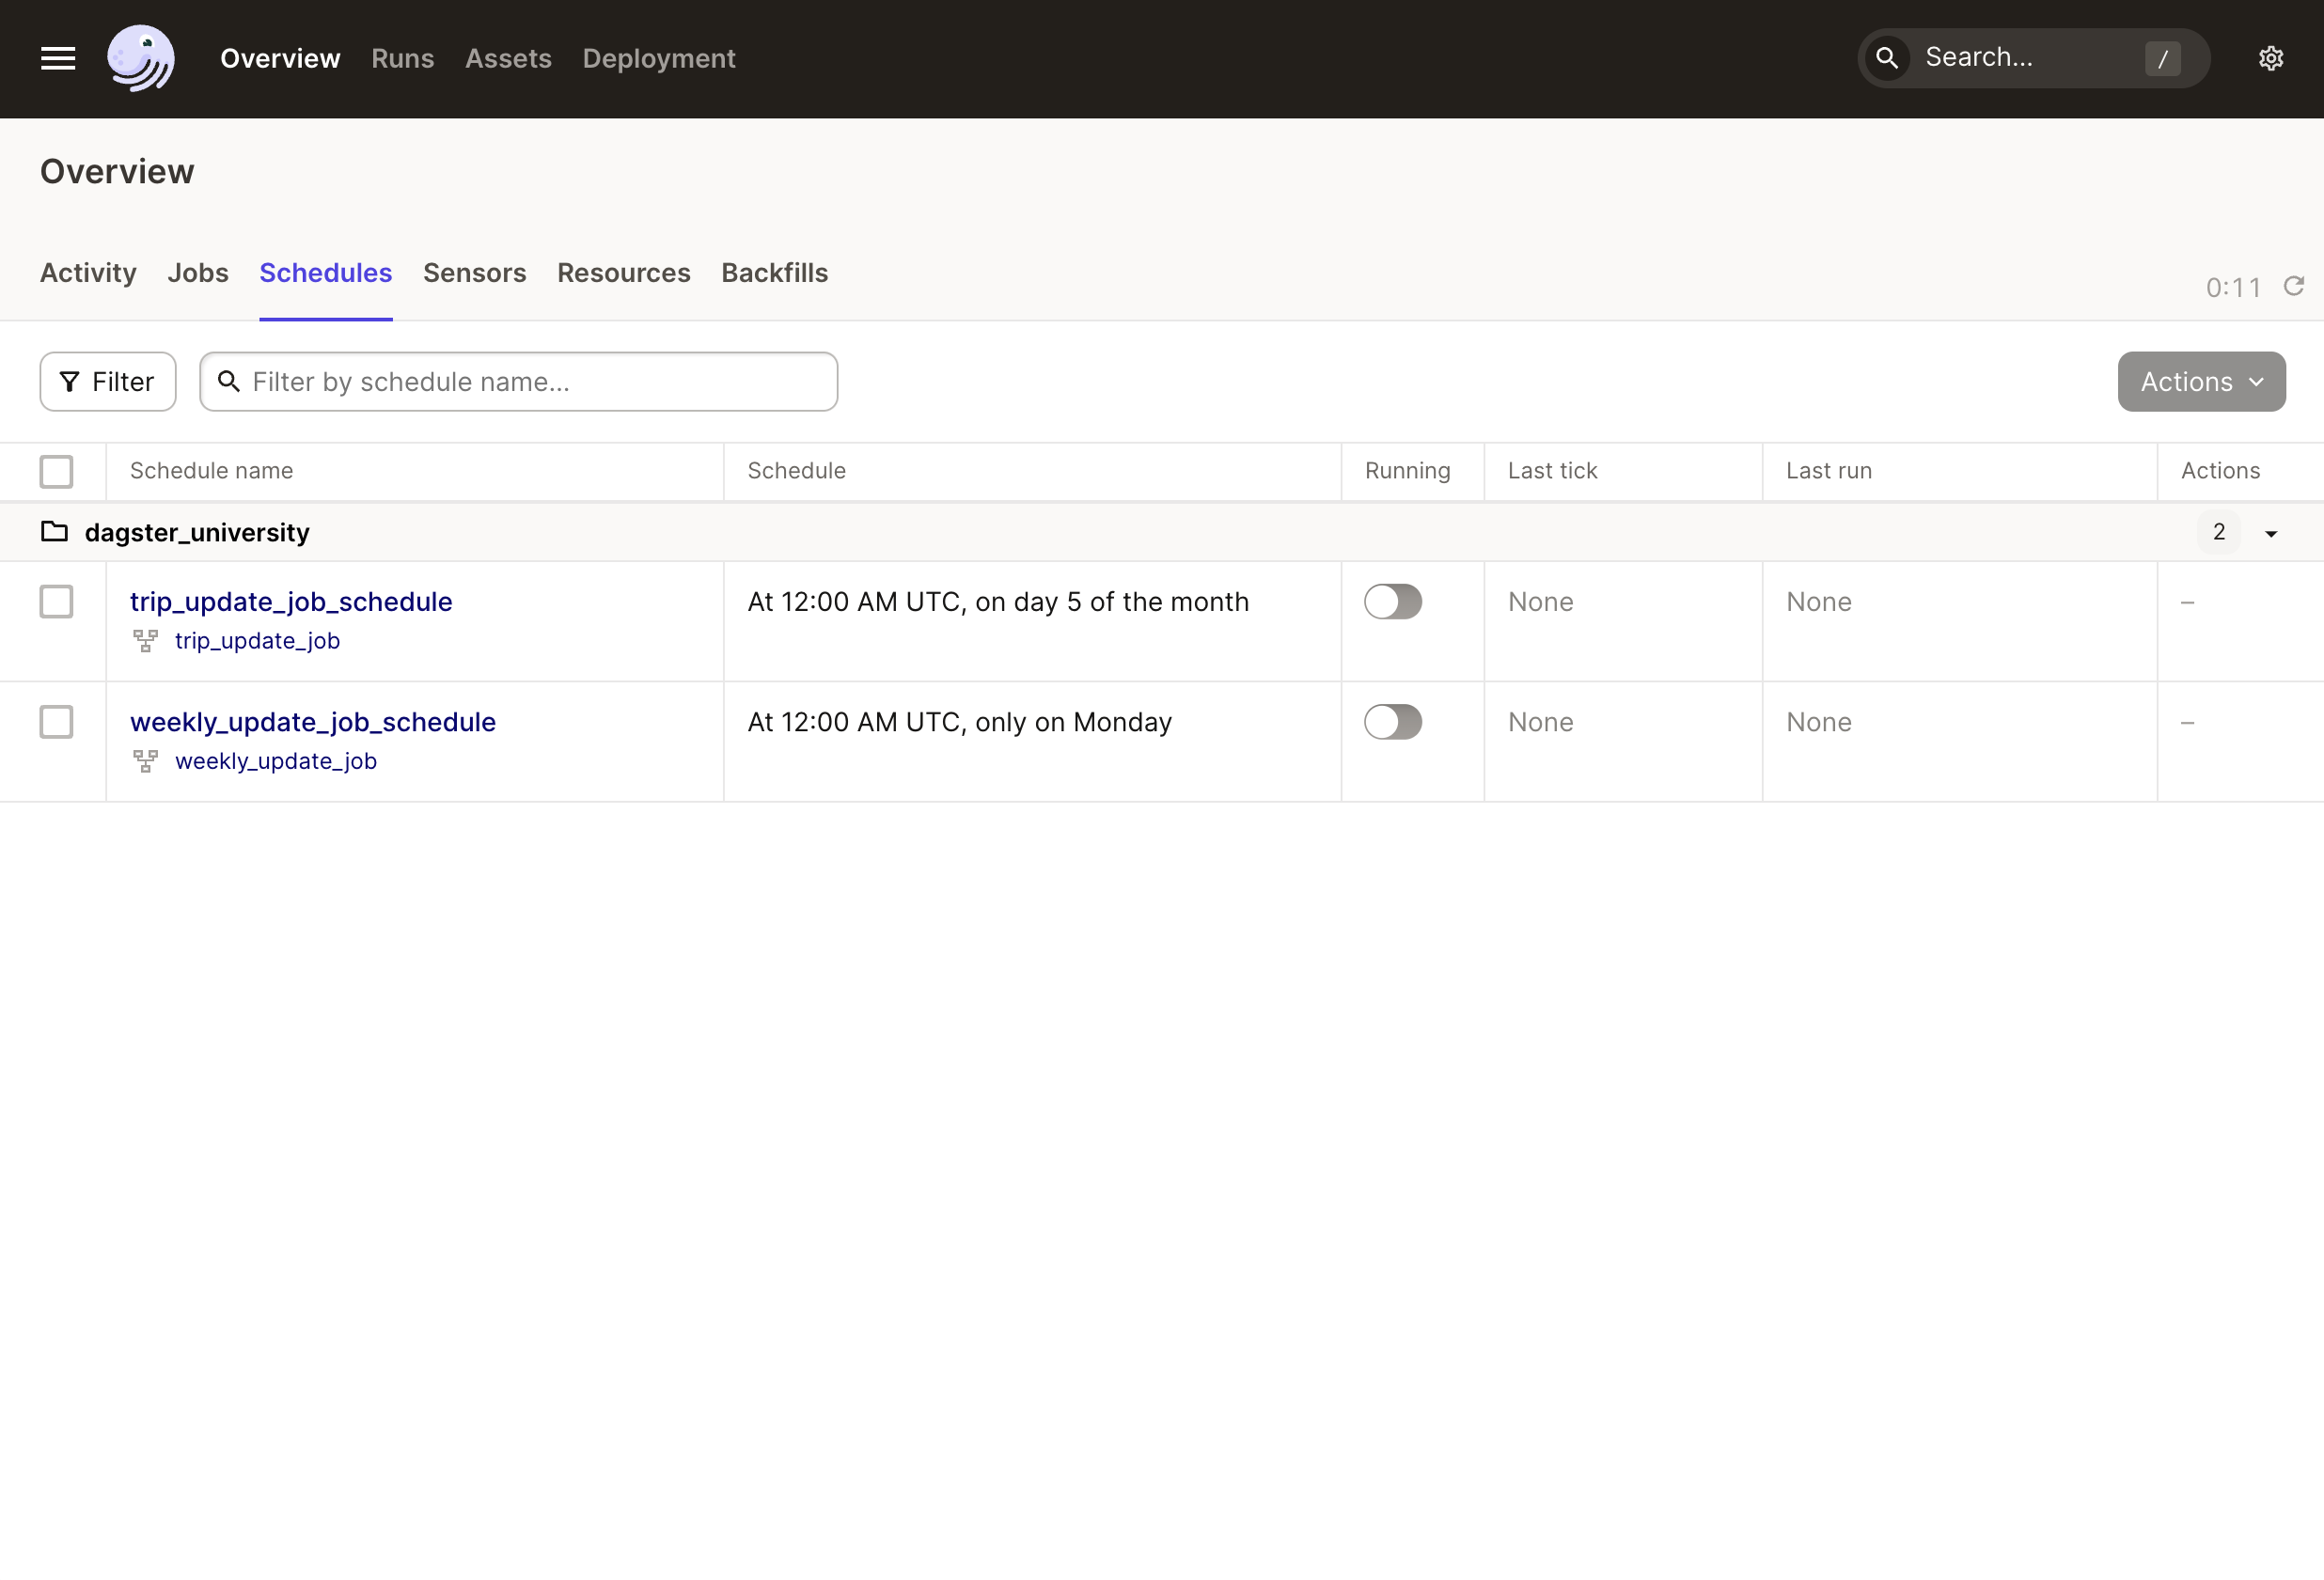
Schedules in the UI
| Accessing schedules | |
|---|---|
To view the schedules in the UI, you can:
The table in the Schedules tab contains the following info:
|
|
| Viewing schedule details | |
|---|---|
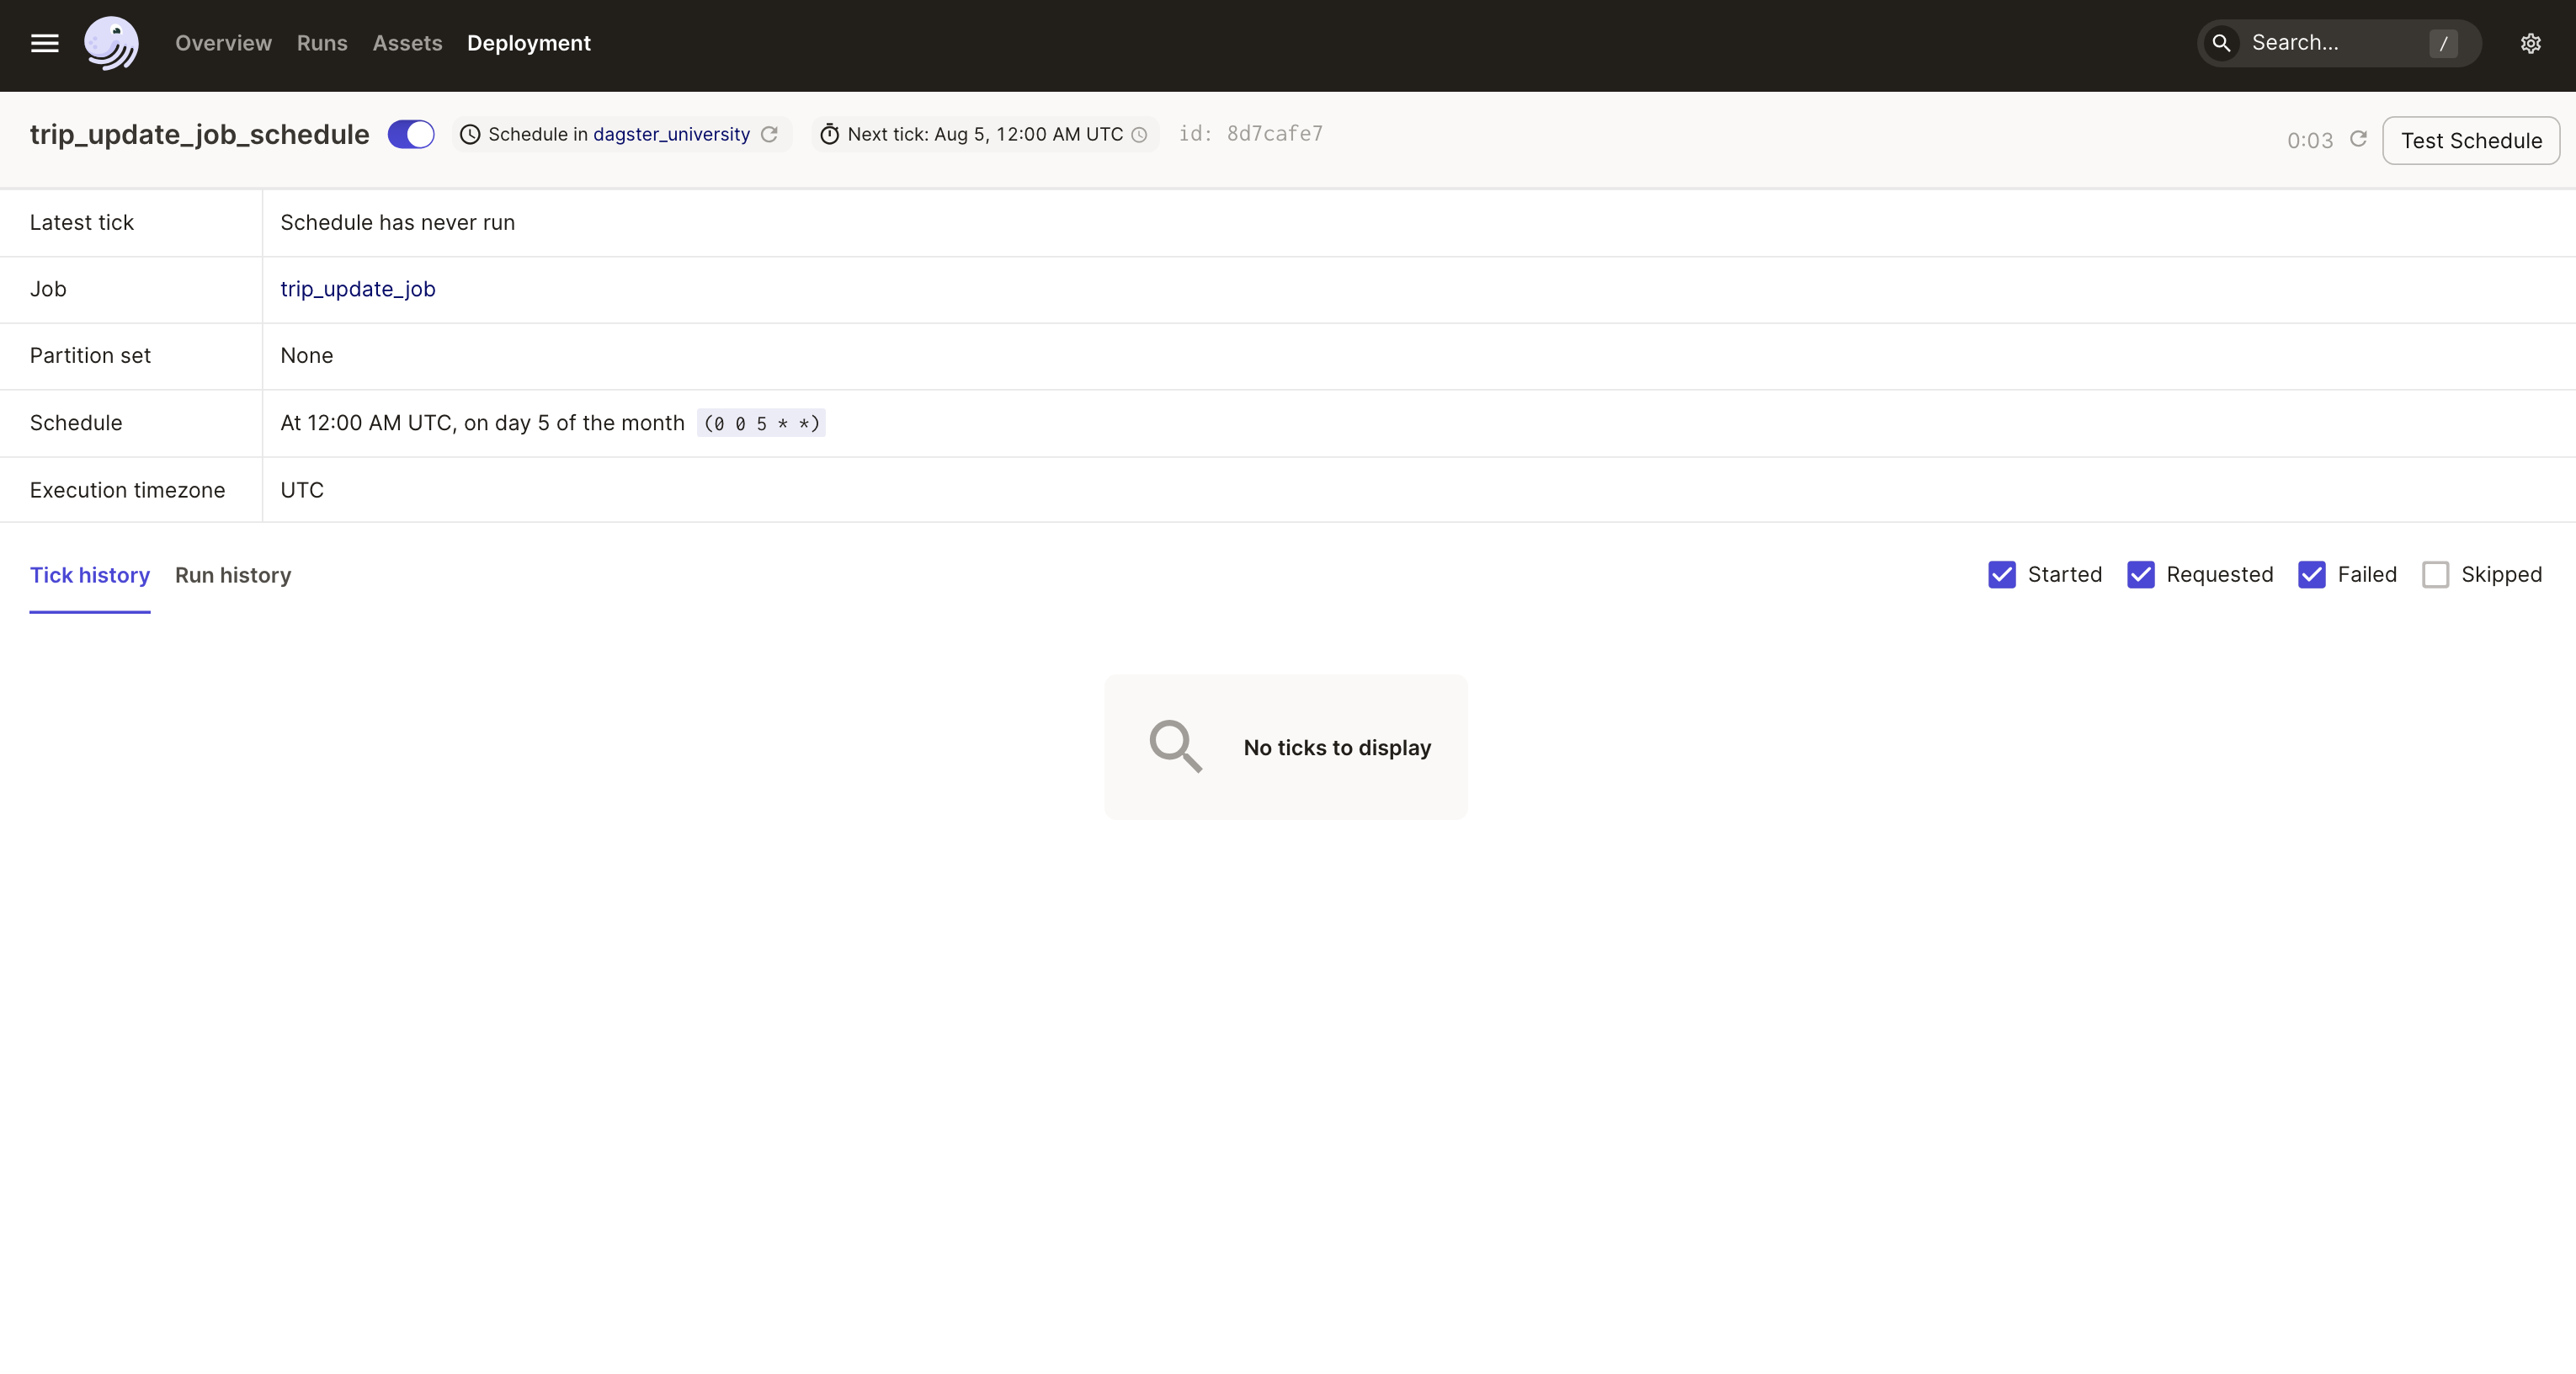
To view historical information about a schedule, click a schedule in the Schedules tab. The Schedule details page contains a view of the schedule’s tick and run history. |
|
| Starting and stopping schedules | |
|---|---|
To start or stop a schedule, use the toggle next to the schedule’s name in the upper-left corner of the page. When the schedule is on, its Next tick will also be visible. |
|
| Testing schedules | |
|---|---|
To test a schedule, use the Test Schedule button in the upper-right corner of the page. This can be handy when a schedule doesn’t run very often or you want to make sure a schedule is working correctly. |
|
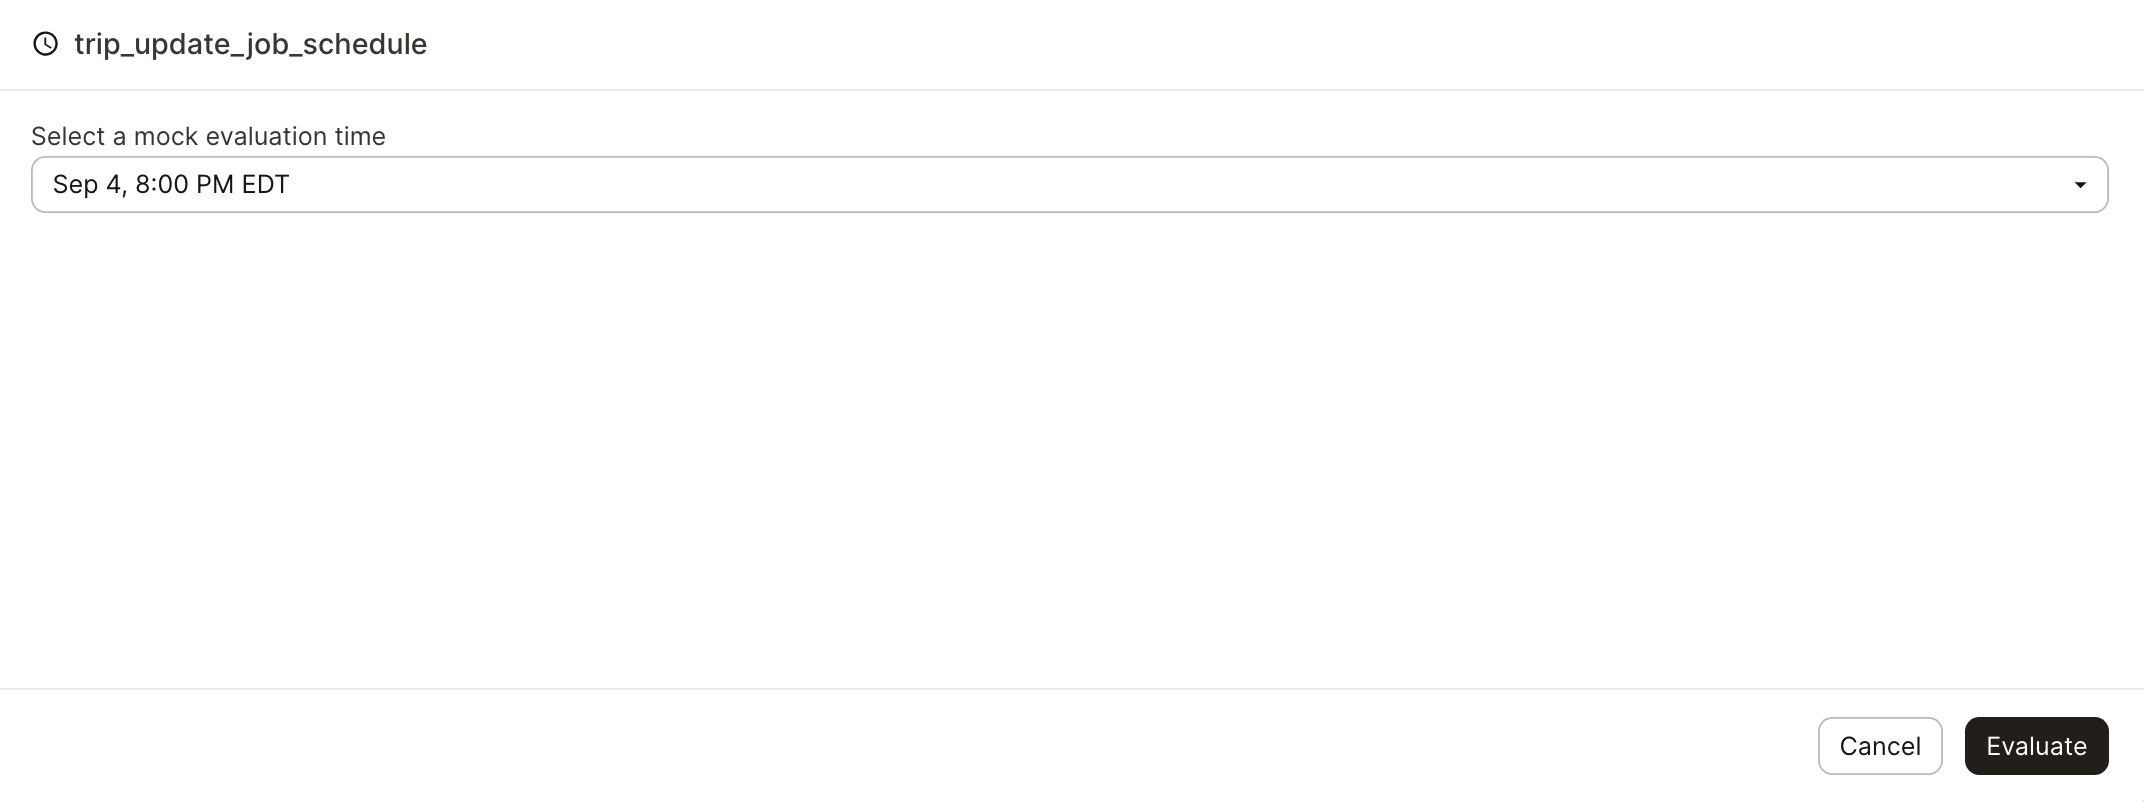
| Selecting a mock evaluation time | |
|---|---|
After the button is clicked, you’ll be prompted to select a mock evaluation time. Click Evaluate to run the test. |
|
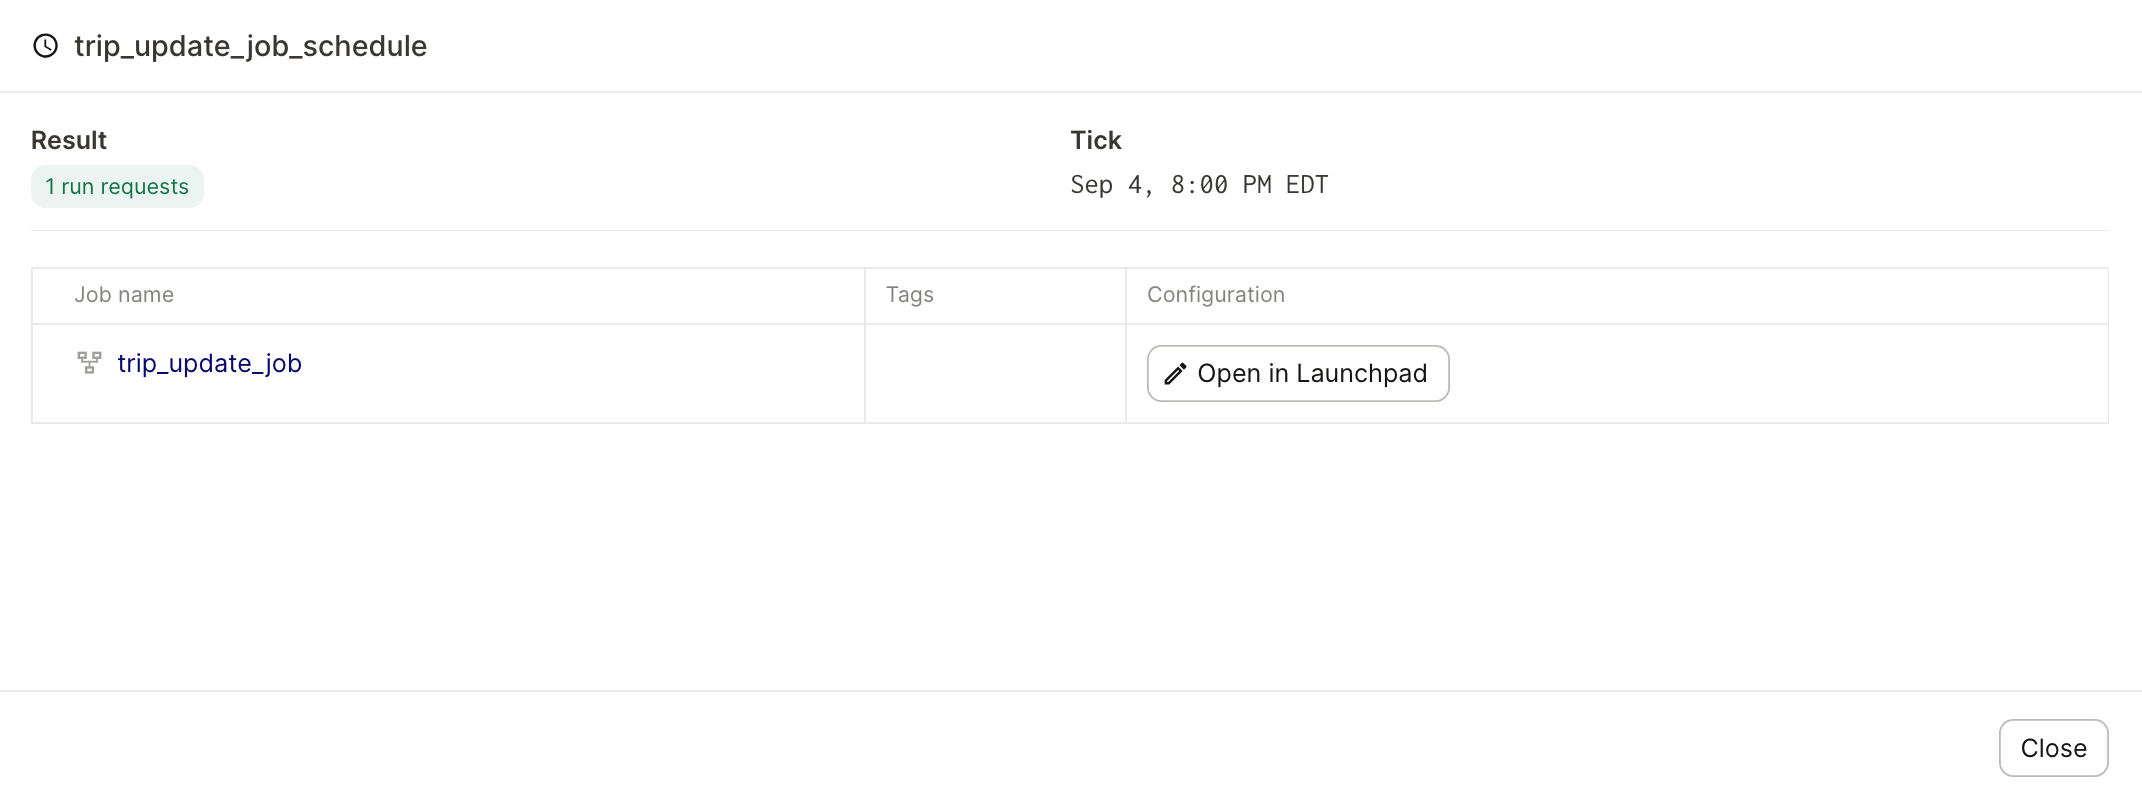
| Viewing schedule test results | |
|---|---|
After the test completes, the results of the evaluation will be displayed. |
|
